Time and time again, one of the biggest hindrances I see in Kindergarten writing is not being unable to think of what to write… it’s being able to form and write letters with automaticity.
What is letter formation automaticity and why is it important?
Letter formation automaticity is the ability to write each letter quickly and accurately without having to stop to think about how each letter stroke is formed.
This is important because it frees up working memory and allows students to focus solely on the task of taking the thoughts from their brain and putting them on paper. It also helps prevent cognitive overload so our students don’t give up halfway through their story.
Letter formation automaticity is important, BUT it doesn’t have to mean giving our students handwriting worksheet after handwriting worksheet.
There is a better way to practice letter formation!
Young children benefit the most from a multi-sensory approach to teaching and practicing letter formation.
They need the opportunity to see, touch, and form each letter in different ways.
And this doesn’t have to take a lot of time or resources! If you’re looking for hands-on activities to practice letter formation beyond handwriting worksheets, the multi-sensory ideas outlined in this blog post can easily be added to your morning tubs, small groups, or literacy centers.
Note: This blog post contains Amazon Affiliate links. As an Amazon affiliate, I may earn a small commission on qualifying purchases when you shop using these links.
What is multi-sensory letter formation practice?
Multi-sensory letter formation practice means that the activities incorporate more than one sense to help build connections in the brain.
These activities can combine two or more of these concepts:
- Visual: students see the letter and how it is formed
- Auditory: students hear and say the letter name and strokes as they are formed
- Tactile: students incorporate their sense of touch while forming the letter
- Kinesthetic: students use larger arm or whole-body movements to form letters
Multi-sensory letter formation practice isn’t just about making letter formation practice fun – although it certainly does do that!
The multisensory activities give students the opportunity to practice the same letter formation pattern in different ways. This helps build connections between different parts of the brain. More connections = stronger retention.
When combined with your regular alphabet instruction, multi-sensory activities can also help reinforce other foundational skills like letter recognition, letter names, and letter sounds!
That said, there is one important thing to note: Keep your letter formation practice consistent.
What does keeping your letter formation practice consistent mean?
No matter what multi-sensory activity students are doing, make sure that you are reinforcing the starting point, letter stroke directions, and language throughout to keep the activity meaningful and prevent reinforcing incorrect letter formation.
Multi-sensory Letter Formation Practice Ideas
Add these multisensory writing activities to your alphabet lessons, small groups, and literacy centers to making handwriting practice both fun and meaningful.
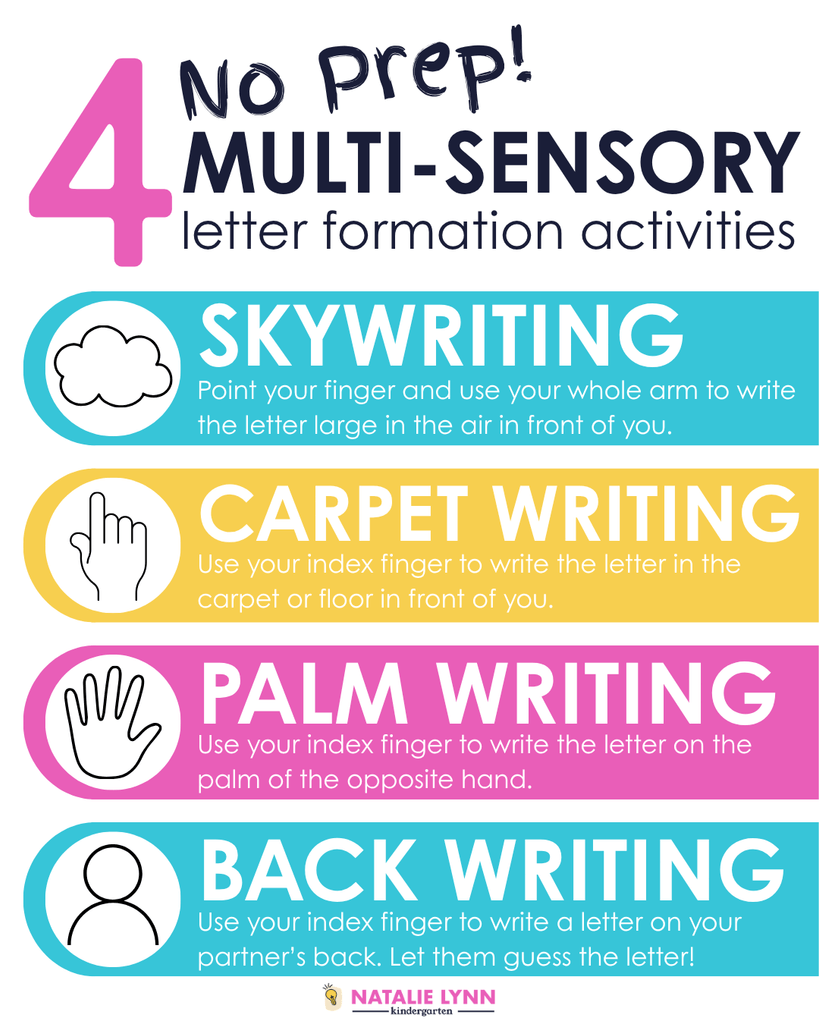
These first four activities are all no prep and no materials, which makes them perfect for adding to your whole group alphabet instruction.
1. Skywriting letters
Skywriting letters is the multi-sensory letter formation activity that I will always, always add in to my whole group alphabet lessons when teaching Kindergarten phonics. It is so easy to implement!
How to: Students will use their entire arm (or both arms together) to “write” large letters in the air.
Guide students in saying the letter strokes aloud as they skywrite the letter.
Teacher tip: Stand facing the same direction as students when modeling how to skywrite the letter. That way they will not have to mentally reverse your movements.
2. Carpet Writing
This multi-sensory letter formation activity is very similar to skywriting, but it is… on the carpet.
For carpet writing, students will use their index finger to write the letter on the floor in front of them. This is a great letter formation activity because requires no prep, no materials, and the sensory input from the carpet is perfect for building those connections.
Again, remember to guide students in saying the letter strokes for proper letter formation as they carpet write their letter.
3. Palm Writing
Similar to carpet writing, for palm writing, students will use their index finger to “write” a letter on the palm of their opposite hand.
Students get the sensory input of the letter strokes with the finger they are tracing with, but they also get to feel the strokes in the opposite hand at the same time.
4. Back Writing
Back writing is a fun, no prep partner activity that I would suggest for letter formation review.
For this activity, students will partner up. Partners will take turns writing a letter on their partner’s back.
To make this a game: Either let students choose a letter or have partner B closed their eyes while partner A looks at a letter card you hold up. Then, they will write the letter on partner B’s back while partner B guesses what letter they are writing.
The next few handwriting activities involve sensory materials. They will work best in small groups with you available to guide and correct students’ letter formation in the moment.
5. Letter Formation Cards
Multisensory letter formation practice can be as simple as tracing the letter path with a child’s index finger. You can grab free letter formation cards below to use for tracing letter paths.
This works even better when paired with one of the sensory activities coming up. Students can trace the letter path on the letter formation card with their index finger. Then, they can write the letter on a sand tray, in shaving cream, etc. as they say the path of motion.
Remember, the goal is multiple exposures and opportunities to practice.
6. Sand Tray Writing
Sensory writing trays are a classic multi-sensory letter formation activity for a reason. It feels exciting, but there is (usually) minimal mess involved.
For this activity, fill a shallow tray with sand or salt. You can buy sand trays, but you can also use shallow food storage containers or trays.
Students will use their index finger or a paintbrush to write the letter in the sand or salt. I prefer having them use their finger for the extra tactile input!
Then, gently shake the tray to clear the letter and start again.
What are some alternative fillers I can use for a sand tray?
- Colored sand
- Salt
- flour
- colorful sprinkles
- pony beads
You can also make a rice tray with dry rice! Rice is easy to dye with food coloring to make seasonal sensory writing trays.
7. Shaving Cream Letters
For this multi-sensory letter formation activity, simply spread a thin layer of shaving cream on a tray or directly on the table.
Then, letter students practice forming letters using their fingers or a paintbrush.
Bonus: This activity makes your room smell GREAT for the rest of the day!
8. Sensory Gel Bags
Sensory gel bags are a fun way to practice letter formation and they are relatively easy to make. Simply add hair gel to a heavy duty plastic bag, remove the air, and seal it shut (I also add a strip of duct tape to keep it sealed).
You can also add food coloring or glitter to the hair gel to make your sensory gel bags even more engaging!
Have the child trace the letter on the sensory gel bag using their index finger.
You can also place a letter card underneath the gel bag for students to trace with their finger. This is an easy literacy center option when paired with this free recording sheet.
Alternative: Paint bags! Instead of hair gel, you can add a few squirts of acrylic paint to your plastic baggies.
9. Magnetic Writing Boards
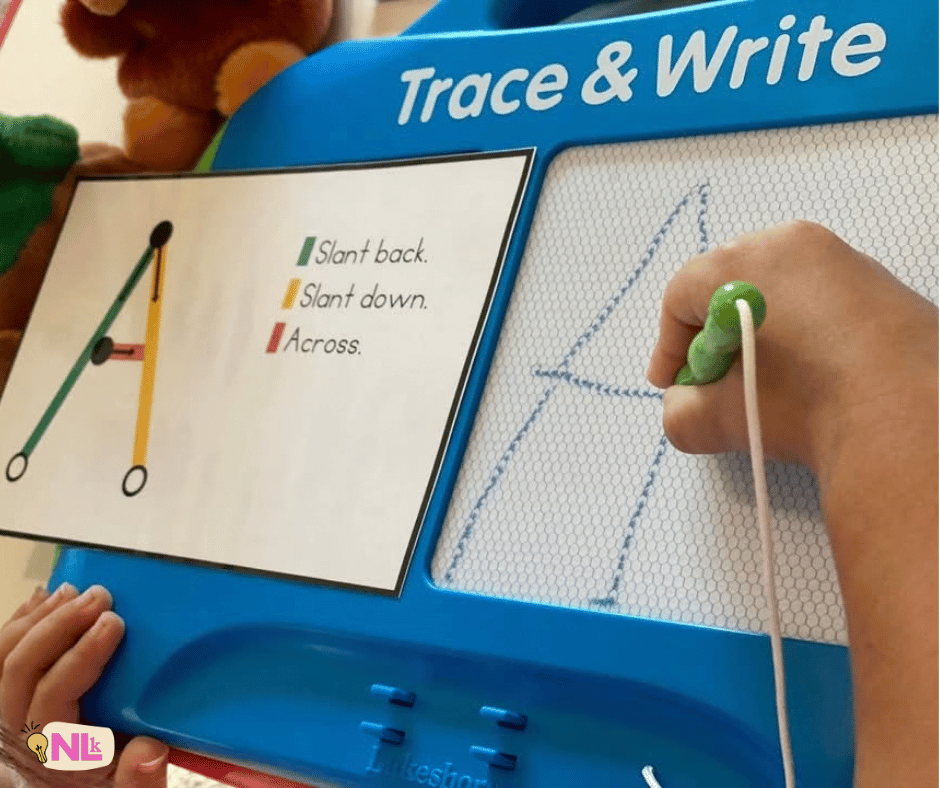
Magnetic writing boards like an Etch-a-Sketch are a great tool for practicing letter formation because they provide a tactile surface with some resistance as students write. Since they are also easy to erase and try again, students are more willing to take chances with their letter writing.
10. Rainbow Writing Letters
For rainbow writing letters, students will trace the same letter multiple times with different colored crayons to make a rainbow!
When introducing rainbow writing to your students, emphasize the correct letter formation each time instead of simply coloring the letter.
Once introduced, rainbow writing letters can be an easy letter formation literacy center option as well.
11. Water Painting
Students LOVE, love, love anything to do with painting, even when they are just painting with water.
Students can use a paintbrush and water to form letters on:
- Chalkboards
- construction paper
- blacktop or pavement
If you paint letters outside on the blacktop or pavement, you can also have students first write the letters with chalk and then “paint” with water over the letter.
This is a great kinesthetic gross motor skills activity!
12. Chalk Letter Formation
This letter formation is just what it sounds like! Students will use chalk to write letters outside or inside on chalkboards.
As mentioned above, you can also combine this activity with water painting the letters.
Or, you can have students write the letters large and then walk the letter paths after writing them! This is an easy gross motor extension if you have extra time.
13. Tactile Letters
Sandpaper letters is a classic Montessori alphabet activity for a reason. Giving students the tactile input as they trace the letter and say the letter strokes helps those letters stick.
You can create tactile or multisensory letters a few different ways:
- Sandpaper letters: Use a permanent marker to write the letter on sandpaper OR cut letters out of sandpaper and glue them on card stock.
- Felt letters: Use a permanent marker to write the letter on felt OR cut letters out of felt and glue them on card stock.
- Yarn: Use liquid glue to write the letter on card stock and then use yarn strings to form the letter.
- Sand or glitter: Use liquid glue to write the letter on card stock and then sprinkle sand or glitter on the letter. Let dry.
Tactile letters can be used to reinforce multiple alphabet skills. Students will use their finger to trace the tactile letters while saying the letter name, letter sound, or letter strokes depending on your objective.
14. Texture Tracing
Tactile letters can also be used in another way – for texture tracing.
For texture tracing, you will want to write letters on a material that has a lot of texture (sandpaper or plastic embroidery backing works best).
Students will lay a blank piece of paper on top of the textured letters. Then, they can use a crayon or pencil to trace the letter on the paper. The texture of the material underneath the paper will provide some resistance as they write.
15. Dry-Erase Boards
Dry-erase boards are simple but absolutely worth including as this is something you most likely already have access to in your classroom.
The benefit of practicing letter formation on dry-erase boards is that students can easily erase and repeat.
Teacher note: For added sensory input and resistance, I suggest trying dry-erase crayons for your letter formation practice!
16. Dish Soap Letters
Fill the bottom of a tray or small baking pan with dish soap. Students can use their finger or a paintbrush to finger paint the letter in the dish soap.
You will just want to check in with families about any allergies or sensitivities to dish soaps! Paintbrushes are a good alternative to using fingers.
17. Finger Painting Letters
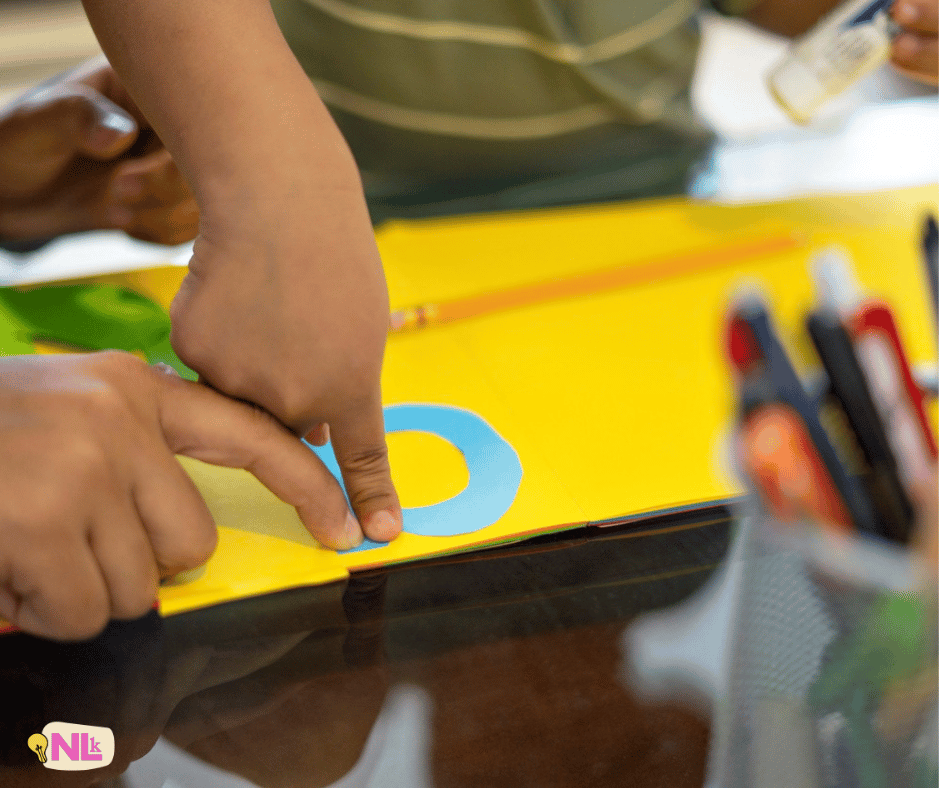
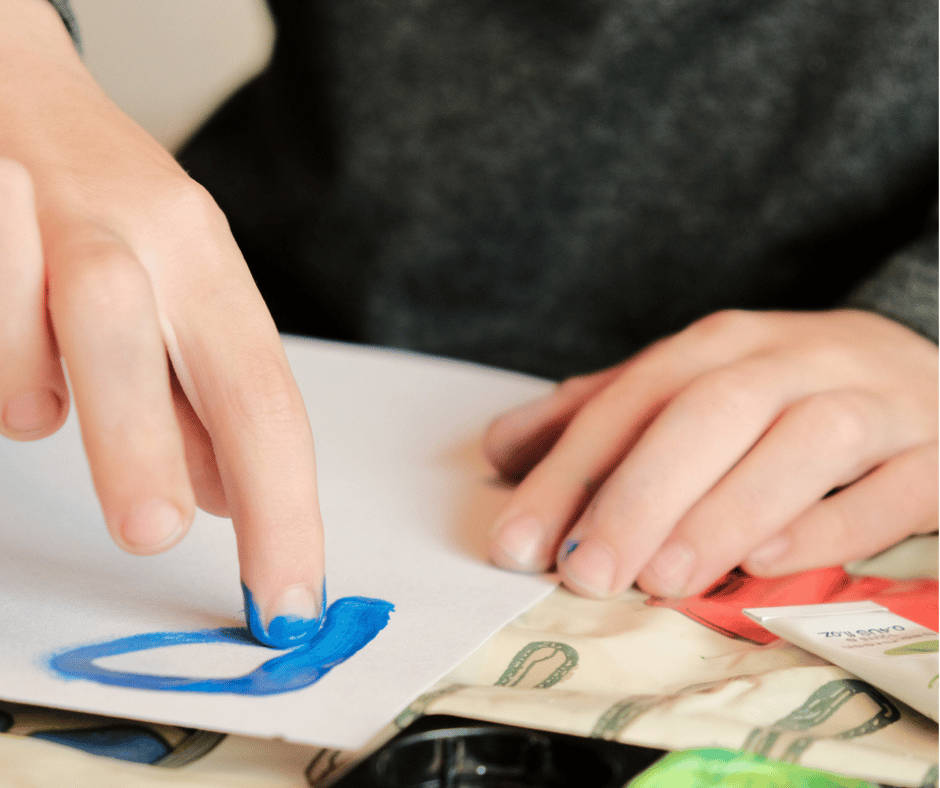
Let students dip their fingers in paint and then use their finger to practice writing letters on blank sheets of paper! This can become a small group activity with large pieces of butcher paper spread out for everyone to practice on at once.
18. Letter Roads
Break out the toy cars! Students can practice driving their toy car on the letter roads using the same direction that would when writing it.
If doing this activity in small groups, you can guide students in saying the letter stroke directions as they drive their toy cars.
Next, I will cover hands-on ways to practice building letters. These activities are perfect for letter formation literacy centers or extra practice. They won’t necessarily reinforce the letter strokes, but they will help with letter recognition and reinforcing the letter shapes.
19. Building Letters with Manipulatives
Building letters using different manipulatives is an easy addition to your literacy centers or morning tubs. It feels like play, so it is always a favorite for students!
What manipulatives can you use to build letters?
- mini erasers
- pom-poms
- pattern blocks
- counters
- snap cubes
- buttons
- Legos
- popsicle sticks
- small seasonal manipulatives
These no prep alphabet fine motor mats give students a guide to build the letters from, and then offer the extension of tracing the letter.
20. Fine Motor Worksheets
Alphabet fine motor worksheets combine multisensory learning with pencil and paper practice. These worksheets allow students to practice forming letters in a variety of creative ways including with:
- dot markers
- dot stickers
- tearing and gluing paper
- dotting paint with a cotton swab

Do you love free stuff?
Free Alphabet Mat Centers
Sign up for my FREE email newsletter and get over 200 no prep alphabet center mats for free!
21. Playdough Letters
Playdough is another fun manipulative for building letters, but there are a couple different ways you can use it.
Building letters: Students can roll playdough “snakes” and then use those to form the letter.
Toothpicks: Students can use toothpicks to write the letter in playdough.
22. Pipe Cleaners or Wiki Stix
Pipe cleaners or Wiki Stix are another great way to practice building letters. Students can bend the straight lines to form the letter.
This is also a good opportunity to discuss the different straight lines and curves of a letter and how different parts of a letter connect!
How to Use Multi-sensory Letter Formation Activities in Your Daily Routine
Trying to make your letter formation practice multi-sensory is wonderful, but your day is already so packed! How do you fit it all in?
During Whole-Group Alphabet Lessons
This is when you will most likely want to choose one of the no prep, no materials letter formation activities. You can introduce the letter strokes and how to form the letter, and then students can spend 1-2 minutes quickly skywriting or carpet writing the letter.
During Small Groups
Because you can give closer attention during small groups, this is the perfect time to choose one of the more involved multi-sensory letter formation activities like sand trays or shaving cream letters.
You can guide students in saying the letter stroke directions as they form the letters.
In Literacy Centers or Morning Tubs
Since you will most likely not be able to give immediate feedback during literacy centers or morning tubs, this is the time for more open-ended activities like building letters using play dough or manipulatives.
These activities still reinforce letter formation, but they don’t require students to have the correct letter strokes.
Should I still use letter formation worksheets?
Yes! Absolutely. Multi-sensory letter formation activities are one of the best ways to practice letter formation, but they shouldn’t completely replace pencil and paper handwriting practice.
Young children still need to learn pencil control and hand-eye coordination and handwriting worksheets can help greatly with that.
Instead of an “all or nothing” approach, they should be used together to reinforce what students are practicing and build a strong foundation.
Create a Multi-sensory Letter Formation Toolkit
Having a multi-sensory letter formation toolkit ready to go with your small group materials just takes one more thing off your plate throughout the day. You can fill it with grab and go supplies like:
- play dough
- letter cards
- dry-erase boards
- dry-erase marker or crayons
- Sensory gel bags
- toy cars
- tactile letters
- sandpaper or plastic embroidery backing
- chalkboards and chalk
- paintbrushes
- small objects or seasonal manipulatives
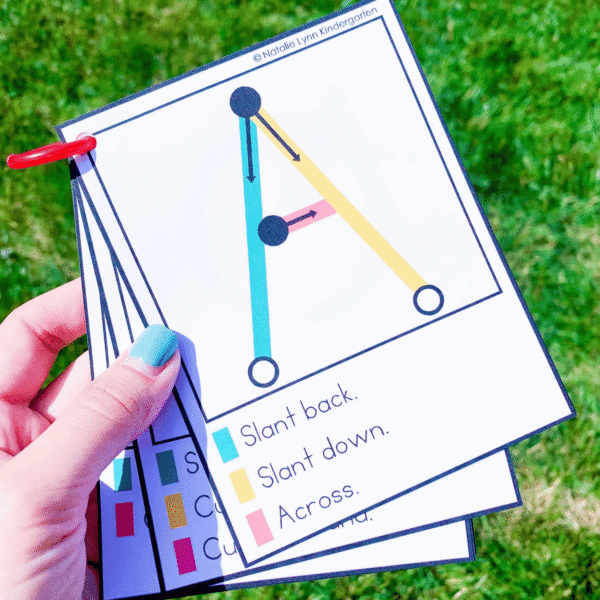
You can also add in these free letter formation cards to easily model the letter strokes.
Do you love free stuff?
Letter Formation Cards
These free letter formation cards include green, yellow, and red visual directions and prompts to help guide students in writing letters.
In Conclusion: Make Letter Formation Practice Meaningful and Fun!
Making your letter formation practice multisensory doesn’t have to be complicated or require a lot of extra materials! Simple activities like skywriting, writing letters in sand, painting letters with water, or building letters with manipulatives can give students the hands-on practice and repetition they need while keeping letter formation practice engaging.
The key is consistency.
No matter which letter formation activity you choose, consistently model the correct starting point and letter stroke directions for students.
And remember, multi-sensory letter formation activities don’t replace pencil and paper practice all together! Instead, think of them as another step along the way: Students can see the letter, say it, build it, trace it, and write it independently.
You also don’t need to use every idea! Choose a few activities that will work well for your students and rotate them. Even just a few minutes of intentional letter formation practice each day can give students valuable opportunities to build confidence with their handwriting.