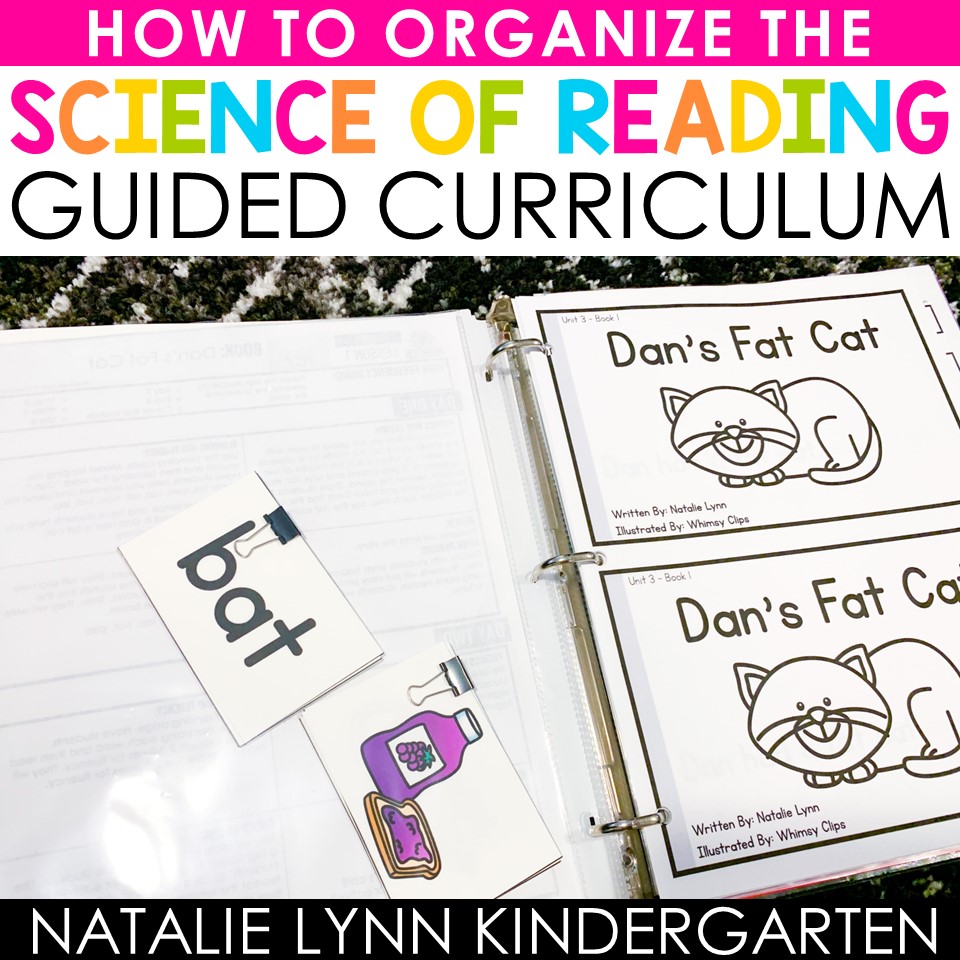
In this blog post: Do you use my Science of Reading Guided Curriculum? Find the best ideas for organizing your small group materials and units in this blog post.
One question that I’ve gotten repeatedly since releasing the Science of Reading Guided Curriculum over a year ago is, “How do you organize all of the small group materials?”
Well, it’s taken me over a year to write this blog post because, while that’s a simple question, it has a not-so-simple answer!
There are so many different ways that you can organize the Science of Reading Guided Curriculum units, but today I have gathered the best ideas to help you decide what will work for you.
This blog post contains Amazon affiliate links. As an Amazon affiliate, I earn from qualifying purchases.
Science of Reading Guided Curriculum: An Overview
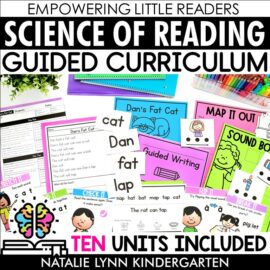
If you’re new here, you may be wondering what the Science of Reading Guided Curriculum even is. The Science of Reading Guided Curriculum is a 10 unit guided reading and phonics curriculum that includes everything you could possibly need for your small groups.
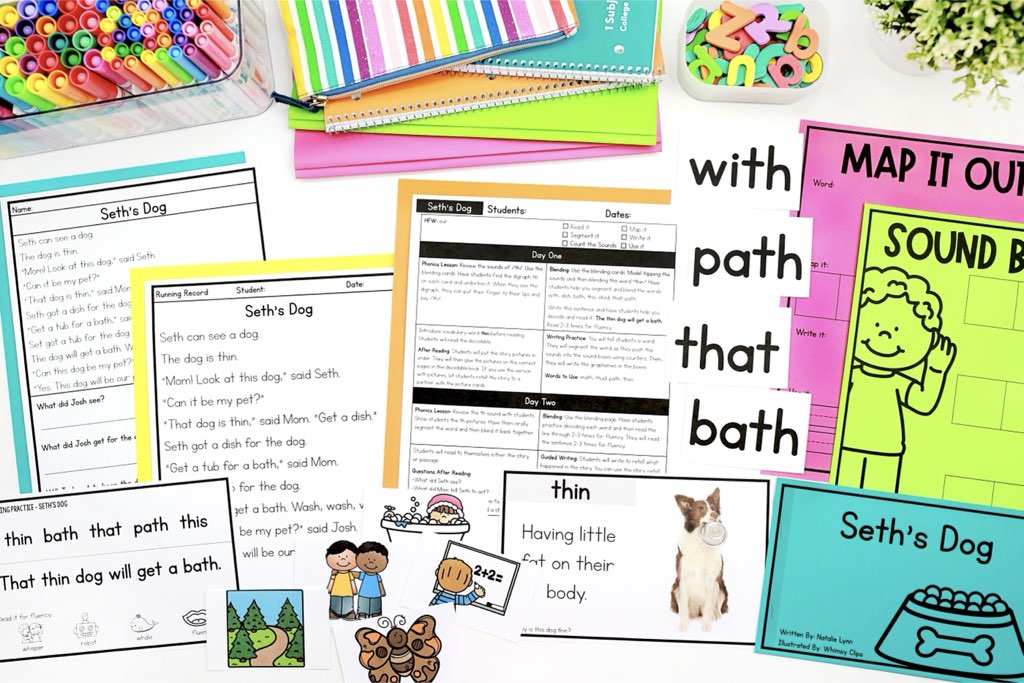
I began writing this curriculum over 2 years ago to help make the transition from traditional guided reading to a Science of Reading based approach as easy as possible. This was the first Science of Reading curriculum of its kind, and I am so proud to say that it’s already transformed thousands of classrooms!
The Science of Reading Guided Curriculum includes:
- 10 units that follow an explicit and systematic phonics scope and sequence
- 211 decodable readers with and without pictures
- Decodable passages versions
- Small group lesson plans
- Vocabulary cards with real photos
- Word cards and picture cards
- Blending sheets for fluency practice
- High frequency word and heart word routine and materials
- Word mapping lists and materials
- Guided writing materials
- Placement assessment
- Unit pre- and post-assessments
- Running records to gage accuracy
It’s a lot, but thankfully, I have some ideas in this blog post to help make organizing the entire small group curriculum not so overwhelming. Let’s get into it!
Science of Reading Guided Curriculum Option 1: Binders
Putting together binders for each unit is my top choice for how to organize the Science of Reading Guided Curriculum. They’re easy to store and grab and go as you need!
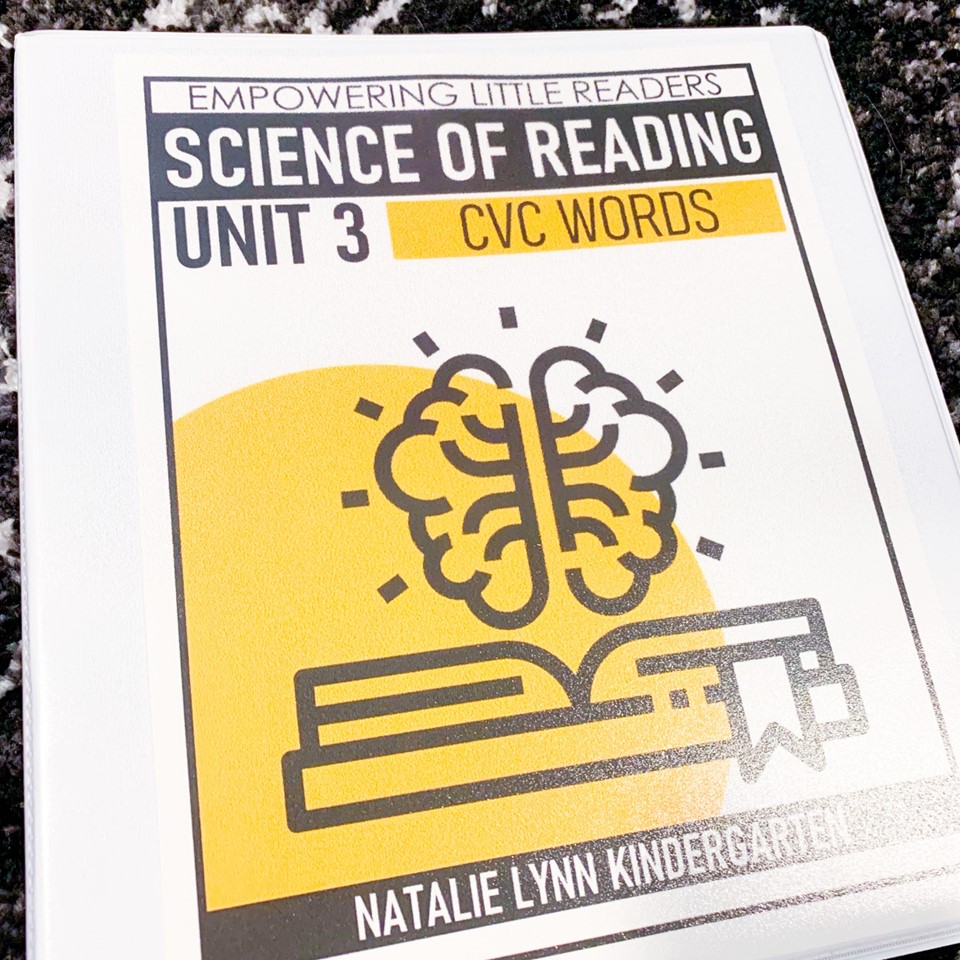
There are a few different ways that you can set up your Science of Reading Guided Curriculum unit binders. First, grab some sheet protectors!
Each lesson plan gets its own sheet protector. If you want to make these a little sturdier and easier to slide in, you can print the lesson plans on colored cardstock.
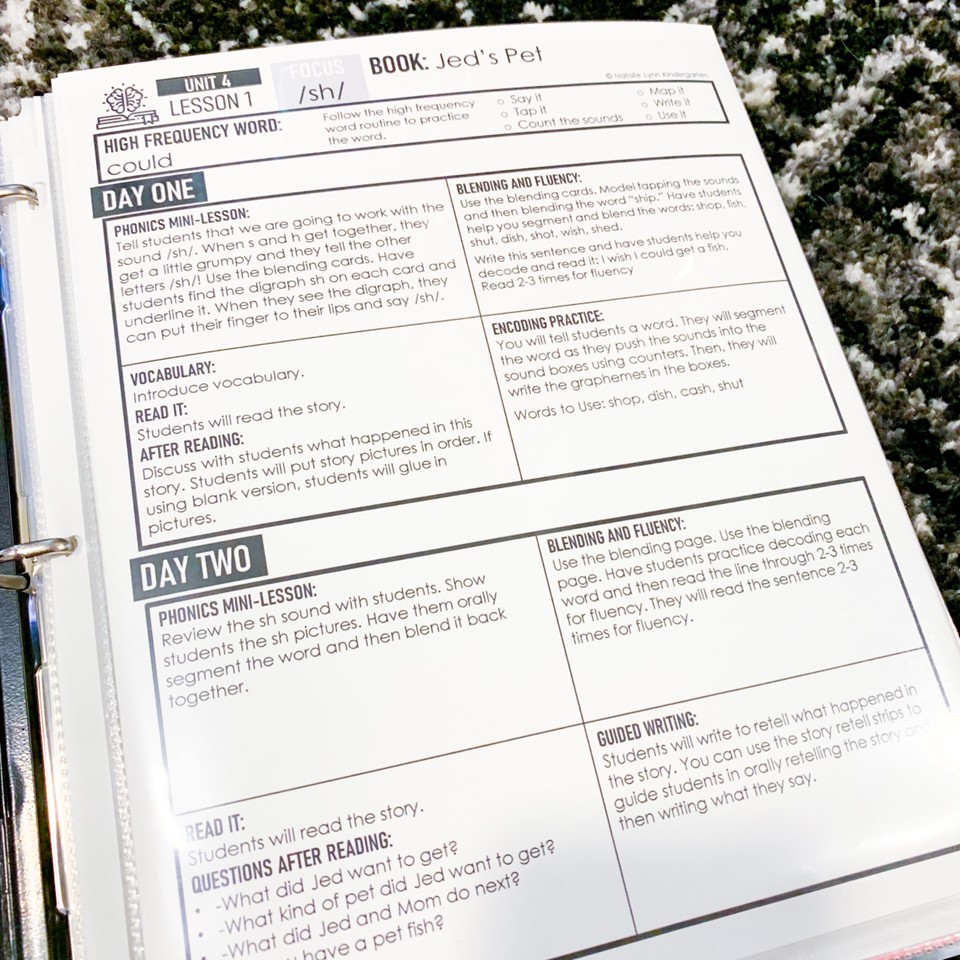
You can also add numbered sticky tabs to the page protectors to make it easy to flip to the lesson that you need.
Now, that your Science of Reading Guided Curriculum lesson plans are in the sheet protectors, you will need to decide how you will store and organize the rest of the small group materials.
First, you can just slip them right behind the lesson plan in the page protector. For this option, I would just keep the master copies of any sheets plus the decodable books in here.
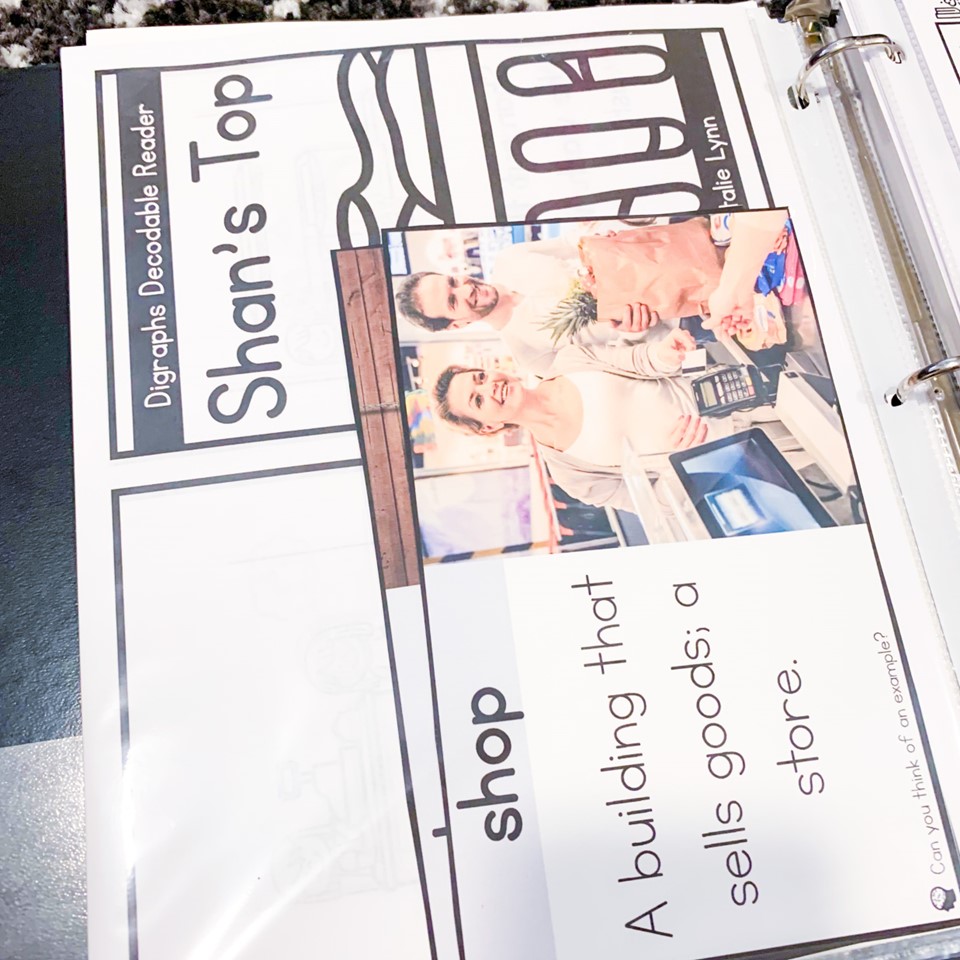
You can also keep the lesson vocabulary cards, word blending cards, and picture cards in here. I would use mini binder clips to keep the cards together.
If you want to make sure they don’t get mixed up, you can also place them in a small Ziploc bag and label it before putting them in the page protector.
Science of Reading Guided Curriculum Binders Continued
Another option if you are using binders to organize the Science of Reading Guided Curriculum is to have the lesson plans in page protectors with the vocabulary cards, but hole punch any master copies and put them in the binder right after the lesson plan.
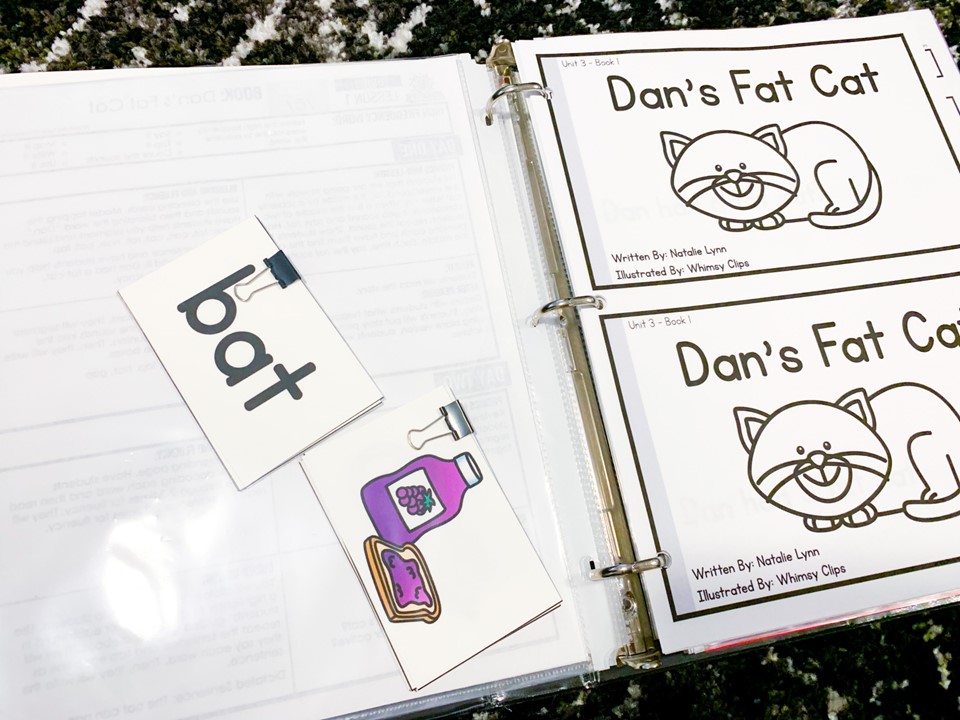
This choice for how to organize the Science of Reading Guided Curriculum is ideal if you don’t like stuffing and pulling out the sheets to find what you need as you’re planning. It’s easier to flip through the pages and pull out just what you need.
Organizing your Decodable Books
Now, personally, I like to just keep master copies of the decodable readers and make copies as needed. That way students can mark up their copy and eventually take it home to practice.
However, if you prefer to have small group set of decodable books pre-made, you can easily do that. Just use mini binder clips to group a set of decodable readers together.
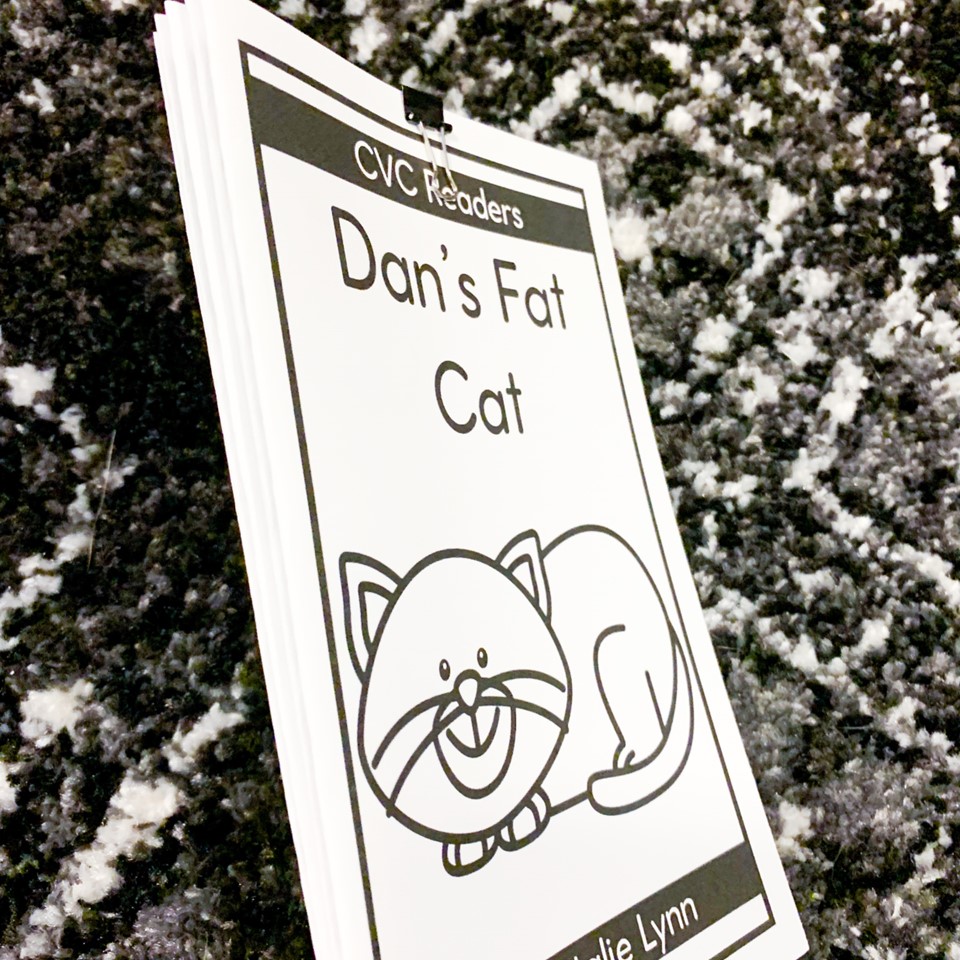
You can then keep these in a basket like the ones I kept on top of my A/C unit. These were guided reading leveled books, but you can use the same ideas. Just have one basket for each unit or skill.
For a no frills way to divide the books, I just used sticky notes and labeled the lesson on it. It makes it easy to grab the decodable readers that you need.
An Alternative to Baggies
If you’re trying to organize the picture sorts, word cards, and picture cards, it can quickly become a never-ending sea of plastic baggies. As you’re considering how to organize the Science of Reading Guided Curriculum, you might also consider this alternative to plastic baggies: envelopes.
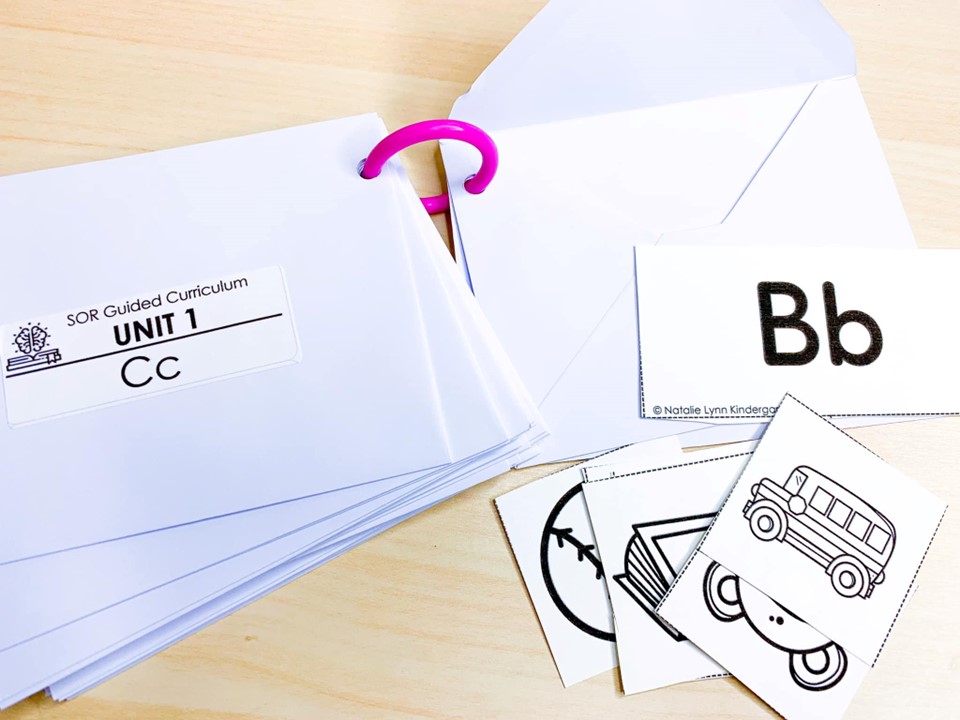
To use envelopes to hold your picture sorts and word cards, simply grab enough envelopes so that you have one for each lesson. You will want envelopes large enough to fit the cards, like these or this colorful option.
Then, hole punch one corner of the envelopes. Make sure to hole punch at the top or else you run the risk of your cards falling out because they are upside down.
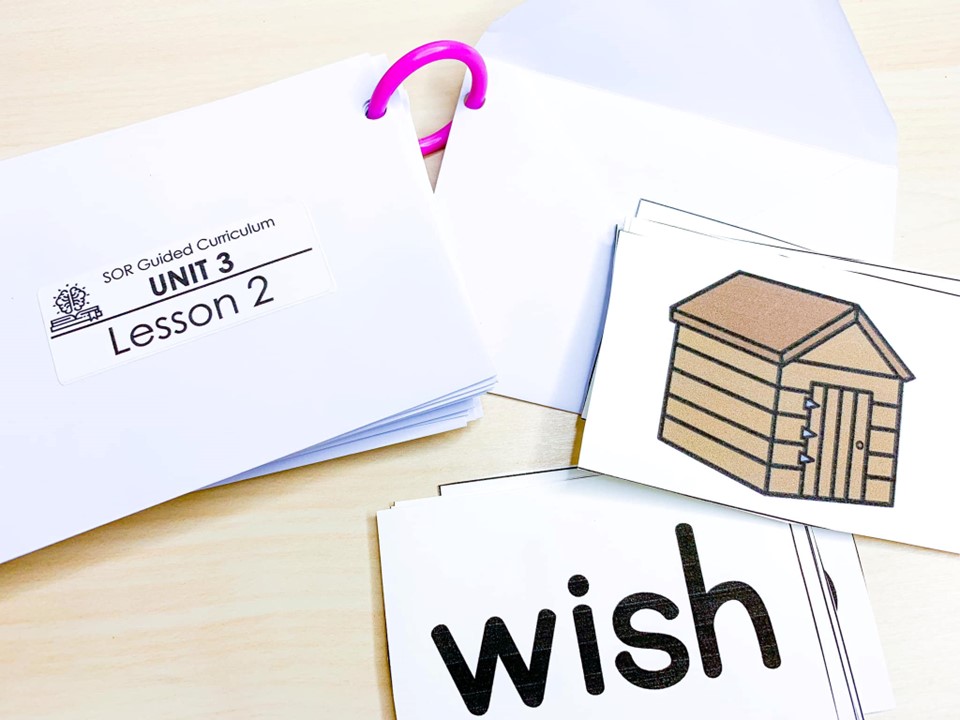
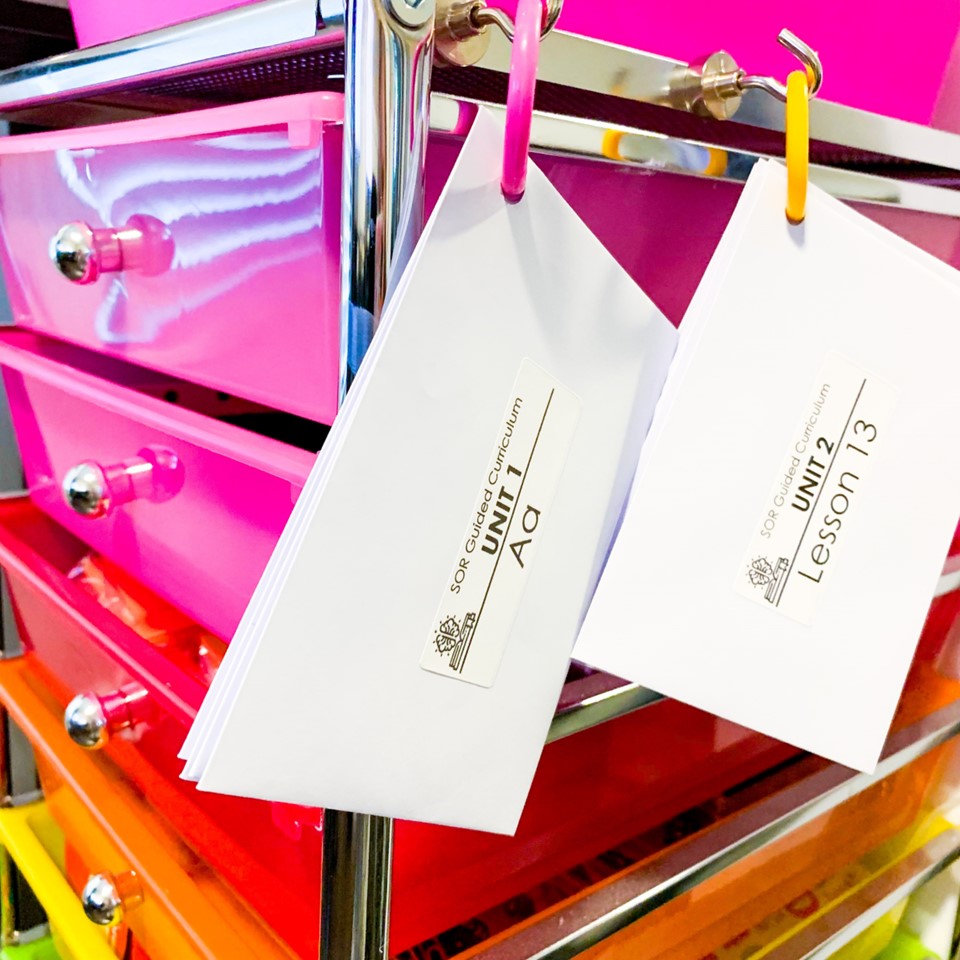
You can then place the envelopes on a binder ring to make it easy to flip through. Note: Use metal binder rings, not the plastic ones that I did. The plastic is too hard to flip the envelopes on.
The Science of Reading Guided Curriculum includes these labels for each lesson that you can use to quickly number the envelopes. Just print them on these Avery labels!
Keep these envelope rings in a drawer near your guided reading table, or hang them on hooks. These magnetic hooks are super sturdy and would be easy to place on the side of a 10-drawer cart or a 3-tiered cart.
Science of Reading Guided Curriculum Option 2: Plastic Baggies
In our Facebook group, Heather shared that she organizes all of the lesson materials using 10×12″ plastic baggies. You can find the exact baggies she used here.
She has the lesson plan, master copies, vocabulary cards, word and picture cards, and the decodable books prepped and ready to go in each baggie. Then, she used the Science of Reading Guided Curriculum labels on the front of each baggie.
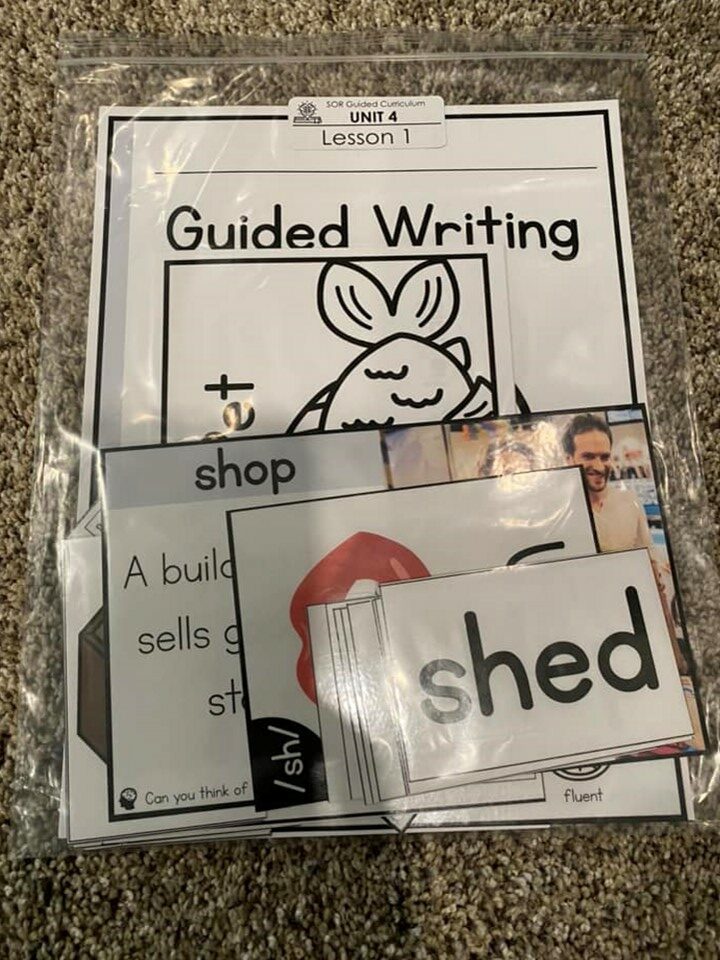
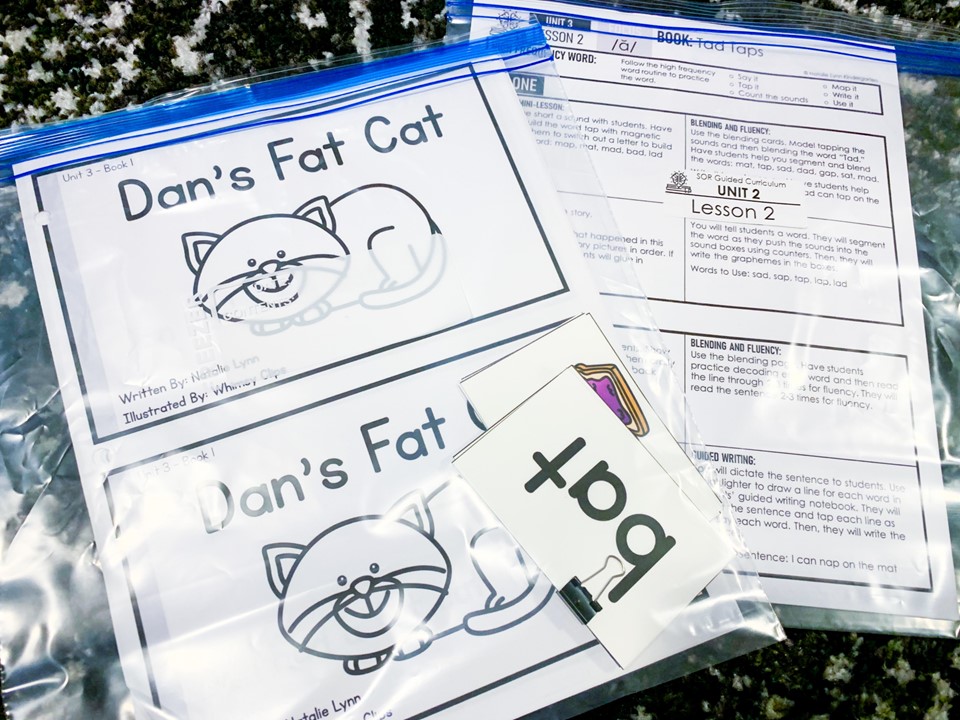
When choosing the best plastic baggies for this system, definitely try to find 10×12″ baggies if you can. I used gallon baggies below and, while it still worked, I couldn’t seal them at the top.
After putting together all of her plastic baggies, Heather chose to store them in plastic Sterilite tubs. To label the tub, she printed the unit cover at a smaller scale and laminated it.
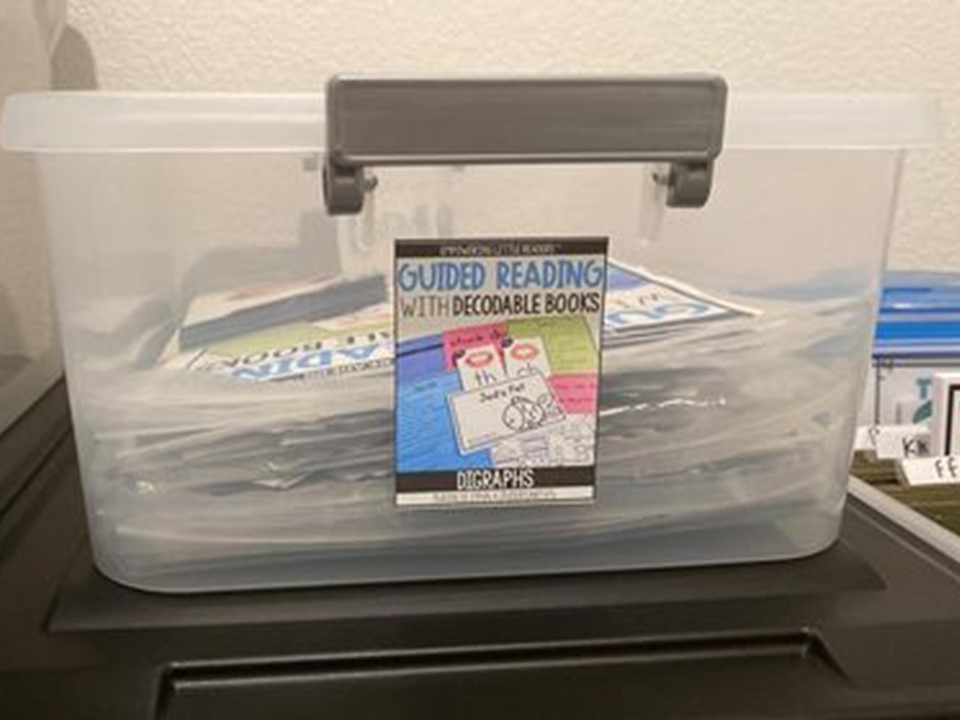
As an alternative to plastic tubs, you can also store the plastic baggies in a bin or basket standing up. That would just make it a little easier to flip to the one that you need.
Science of Reading Guided Curriculum Option 3: Folders
An alternative to the plastic baggies is paper folders. If you can grab these when they go to 5 or 10 cents around back to school, even better!
Note I said paper folders, not plastic. The paper folders just hold the materials much better and prevent them from slipping out.
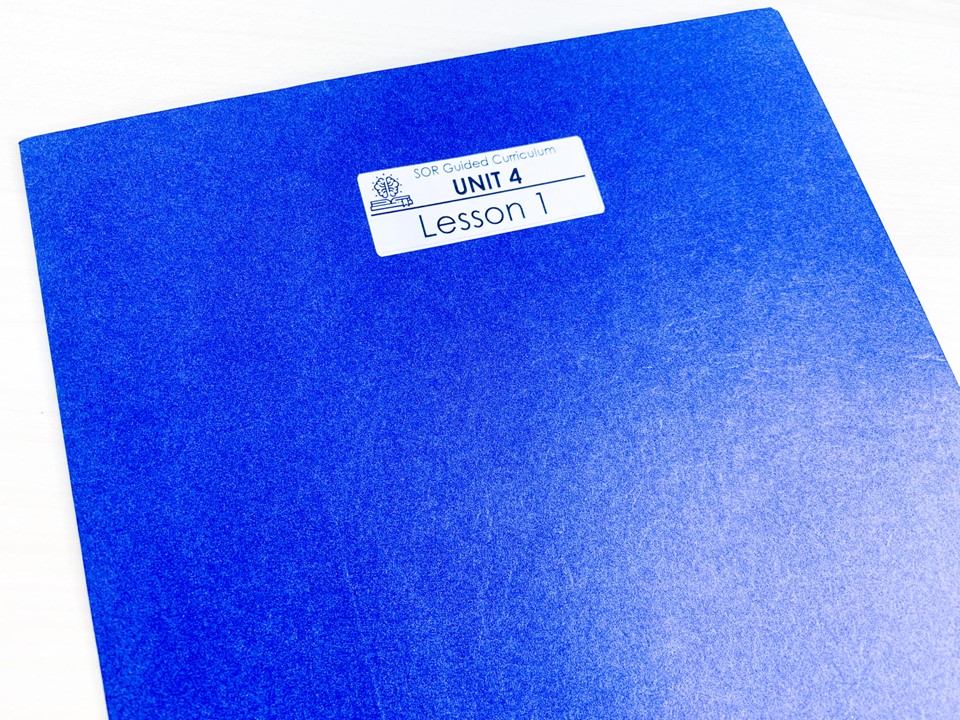
You can use the same Avery labels to label the front of each folder if you want.
Then on the inside, I would keep the lesson plan and reusable materials on one side, and the master copies on the other side. If you pre-make your decodable books, you could also keep those on the other side.
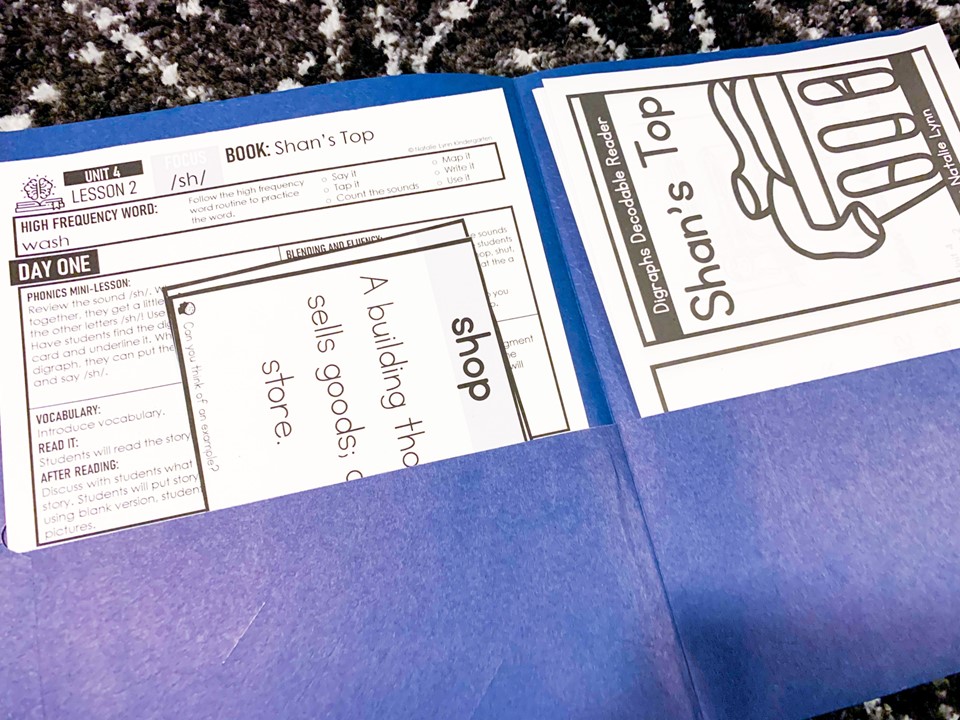
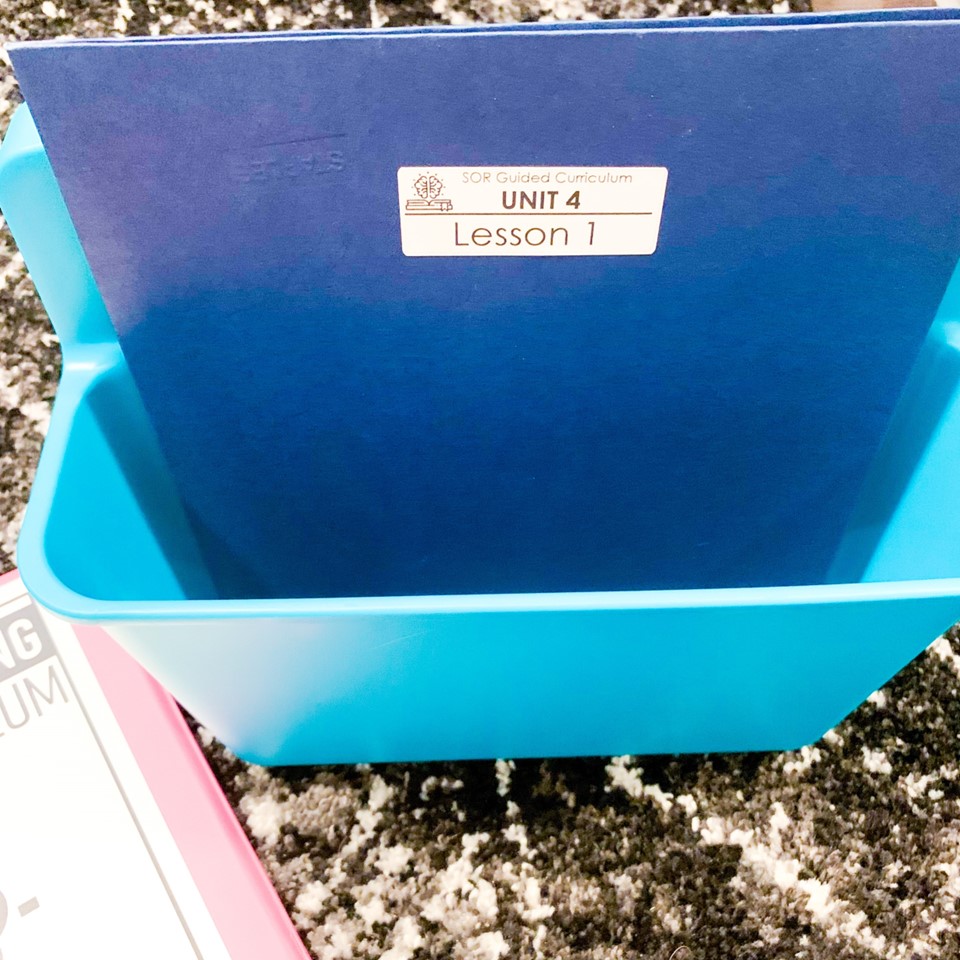
For storage, you can most likely fit all of the folders for one unit in a book bin. It would be easy to line those book bins up on a bookshelf then for easy access!
Then you can grab the folders that you need for the day and place them in your teacher toolkit as shown below:
P.S. You can grab the Science of Reading Small Groups binder for free here.
Science of Reading Guided Curriculum Option 4: Hanging Files
Another option to consider when thinking about how to organize the Science of Reading Guided Curriculum is hanging file folders. This option takes a little more time and money, but it is sturdy and can be stored easily.
When setting up your hanging file folders, you will want to consider if you want to use a file folder box or an open hanging file folder holder (try saying that ten times fast!).
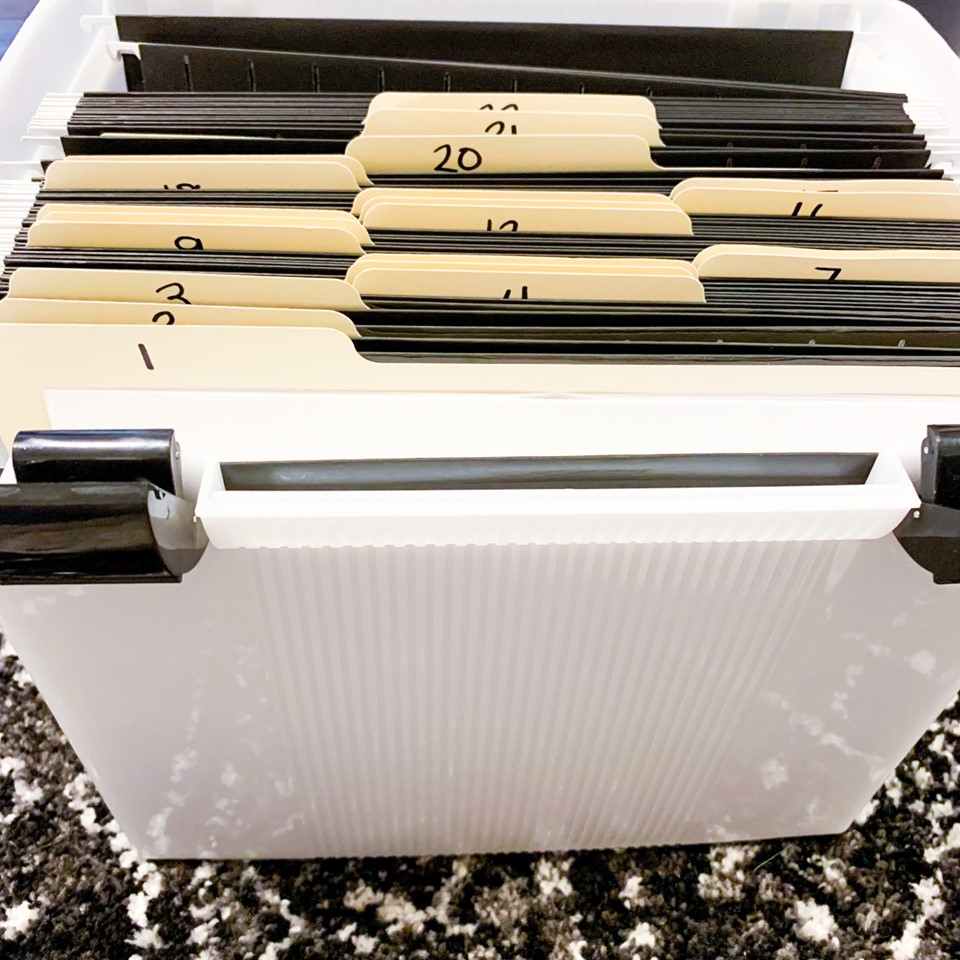
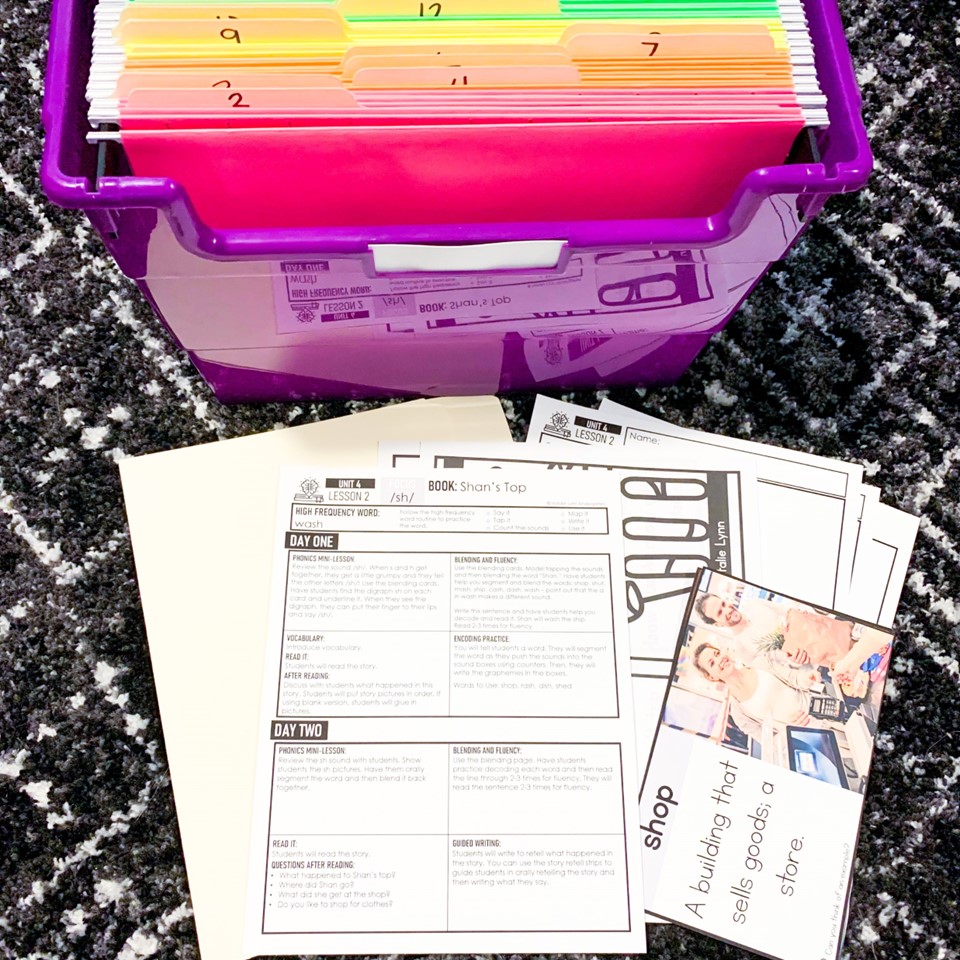
The file folder box can store more in it, and you might even be able to fit multiple units inside.
Then, you can either label the hanging files and throw the materials right in, or label file folders and insert those in each hanging file. I prefer adding in file folders because they are easier to take out as needed.
Choosing the Best System for You
Hopefully this blog post gave you some useful ideas for how to organize the Science of Reading Guided Curriculum! Remember, there is no right or wrong way to organize. Find the system that works best for you and your budget. You can find all of the materials I listed in this post here in my Amazon storefront.
If you have a system that you love, or any other tips and ideas, I would love it if you shared in our Facebook group or by email.
Be sure to stop by tomorrow to find out how to organize student materials at your small group table.
Want to read more about the Science of Reading? Check out these blog posts:



This is super helpful! What size of binder do you use?
I used 1” binders and it was perfect for me, but if you wanted to be safe you could use 1.5”.
These are amazing