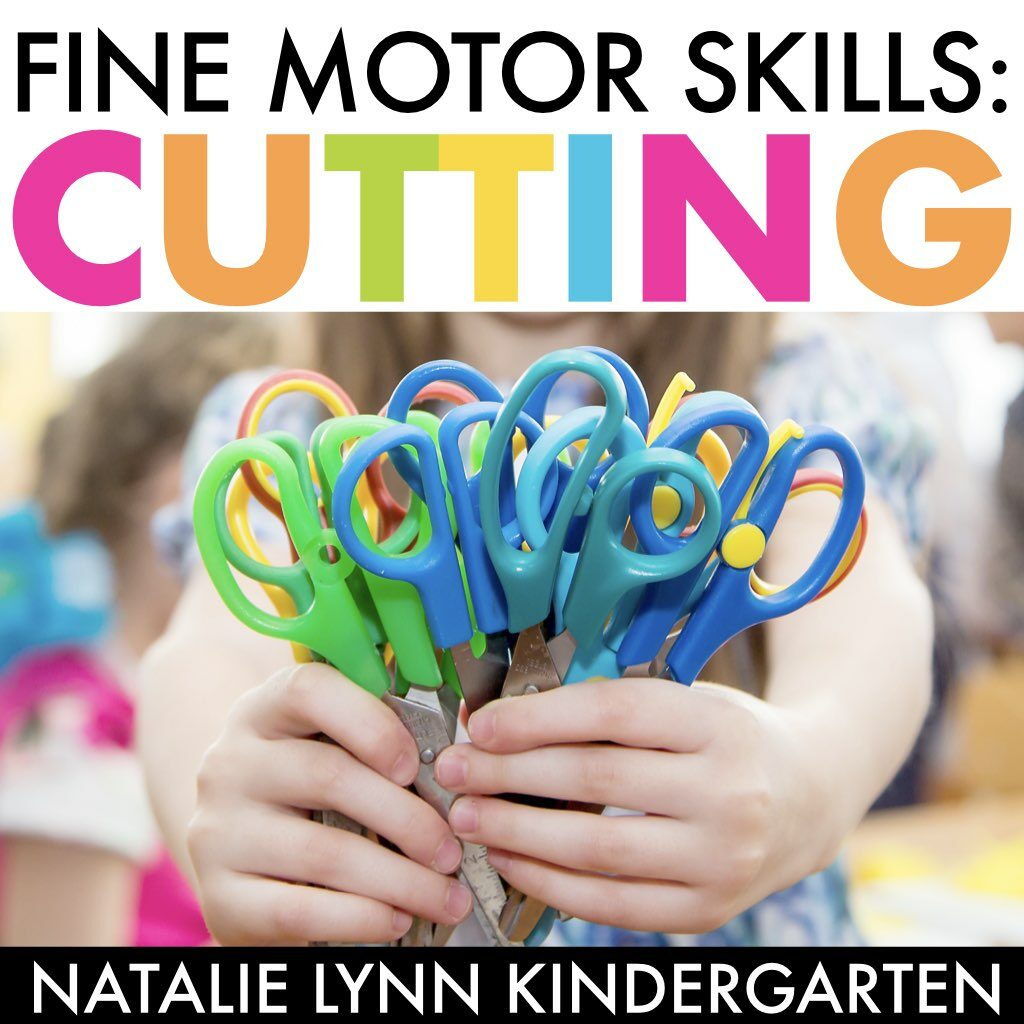
Learning how to use scissors is something we know we will have to teach every year. Many of our students come to us never having held a pair of scissors before! But how do we best teach students how to cut with scissors?
Teaching students how to cut with scissors is an important fine motor activity because it will help develop multiple essential developmental skills including:
- Hand, wrist, and finger fine motor muscles needed for writing
- Hand-eye coordination
- Bilateral coordination, which means using both sides of the body at the same time while both hands are performing different tasks
If your students are having trouble using scissors, they may need to develop some early cutting skills first.
Early Cutting Skills
Before you can teach students how to cut using scissors, they must have down the open/close grasp and release motion. Some activities that will help develop the grasp and release skill are:
- Using clothespins
- Using tongs
- Using a hole punch
- Playing with playdough
- Tearing and ripping paper
Once your students have mastered the grasp and release motion, teach them to cut using small snips on thick paper. The thick paper will be easier for students to hold and provide resistance to the scissors.

When you teach students how to cut using scissors, you should follow the developmental sequence of scissor skills:
- Holds scissors
- Opens and closes scissors
- Cuts one small snip at a time
- Snips while moving forward
- Cuts a paper in half
- Cuts a straight line
- Cuts curved lines
- Cuts shapes
- Cuts complex shapes
Practicing Snipping with Scissors
When your students are practicing how to snip using scissors, there are a variety of activities you can use to practice this skill. I do suggest using thick paper like card stock.
- Give students scraps of paper and let them snip the corners off
- Complete cutting art projects that only require students to cut off the corners of each shape before assembling
- Have students cut fringe if they are able to use their helper hand to control the paper
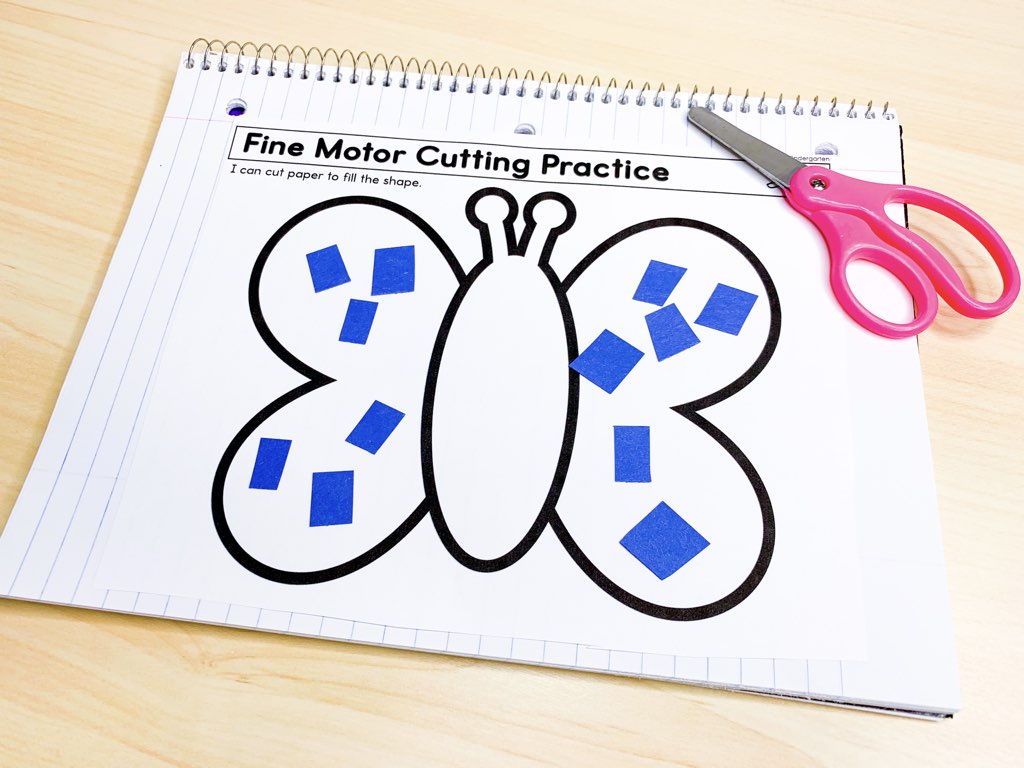
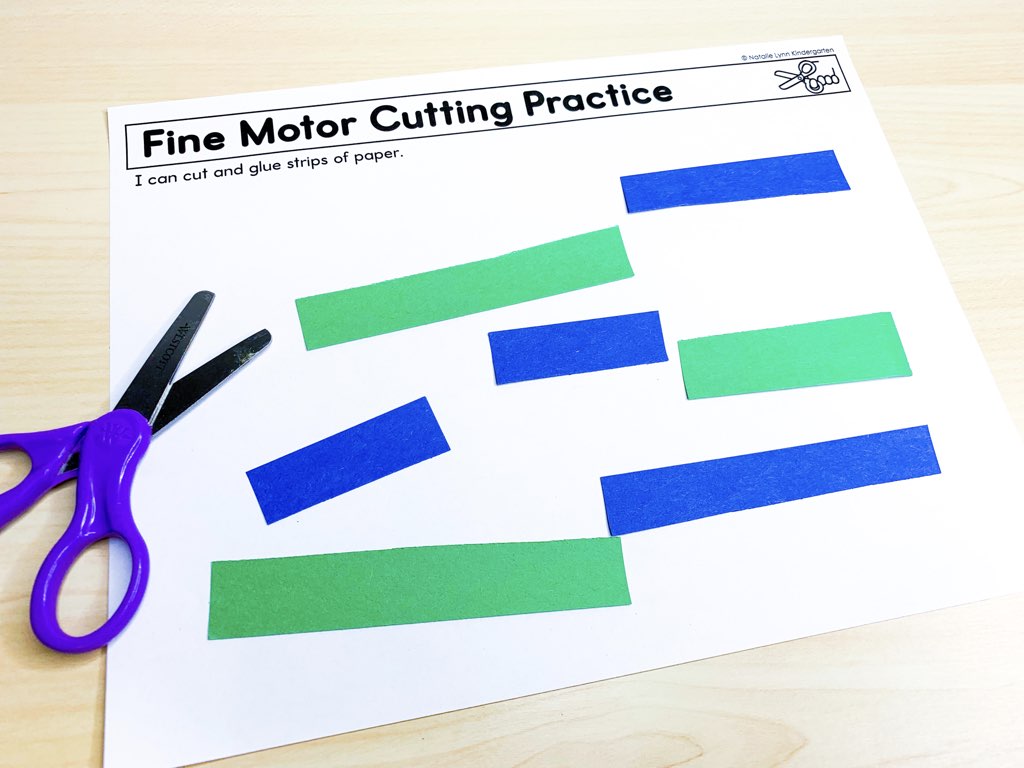
- Give students thin strips of paper to cut into squares or smaller rectangles
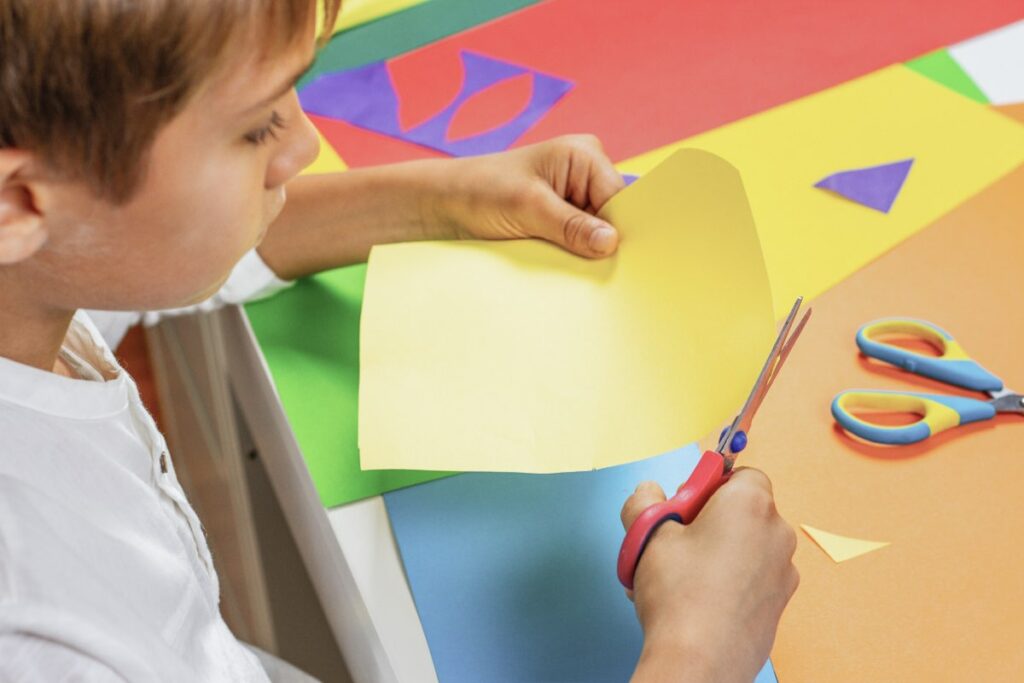
Once your students have mastered snipping, you can teach them how to push their scissors to move across paper. Once students are able to do that, you can teach them how to cut lines using scissors.
Practicing Cutting Lines with Scissors
Your students are ready to cut lines! This is another skill that will require practice and building up difficulty. When you are teaching students how to cut lines using scissors, follow this sequence:
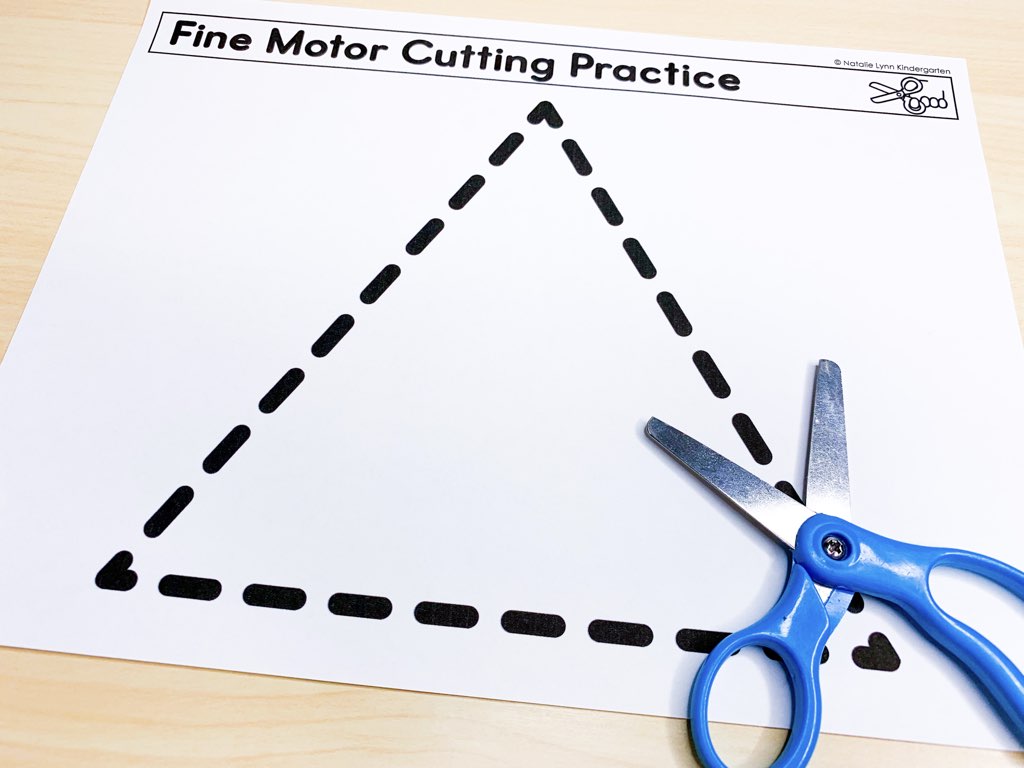
- Cut on a straight line
- Cut on straight lines that stop in different places
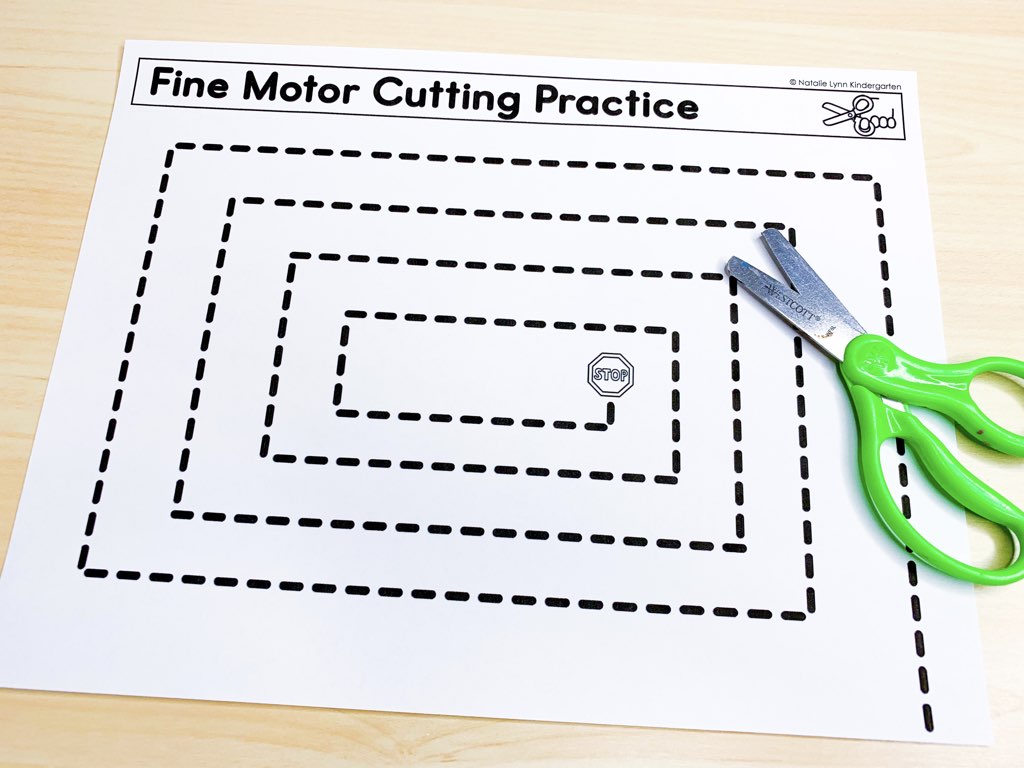
- Cut on straight lines that change direction once
- Cut on straight lines that change direction multiple times
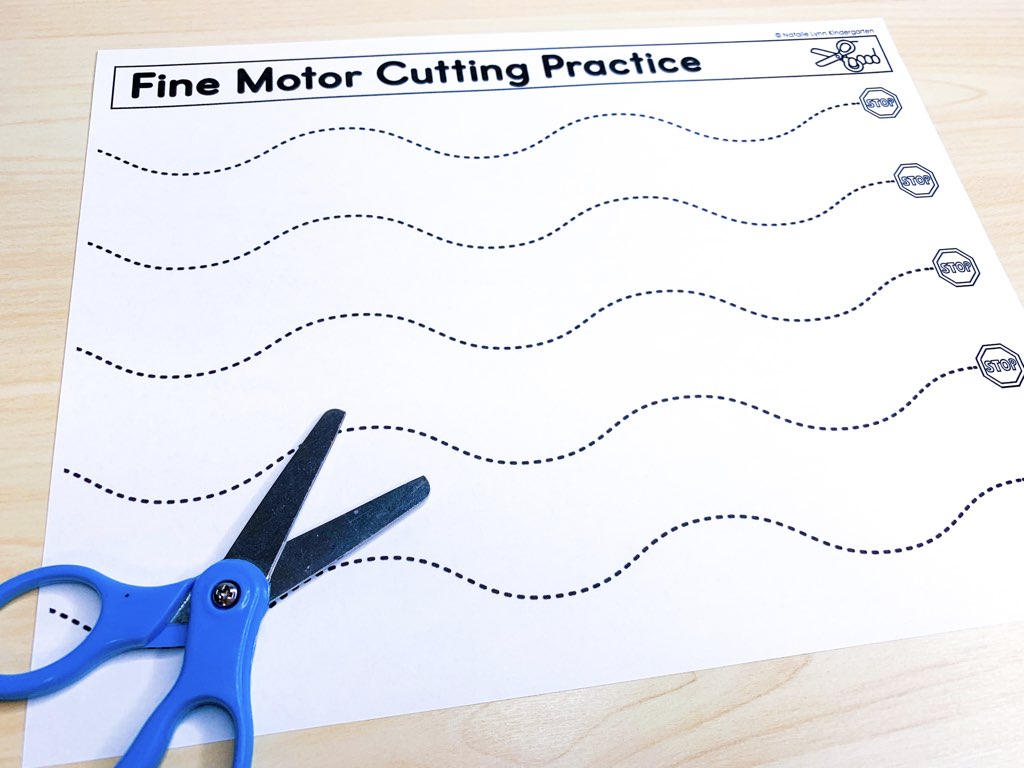
- Cut on curve lines
- Cut on curved lines that change direction once
- Cut on curved lines that change direction multiple times

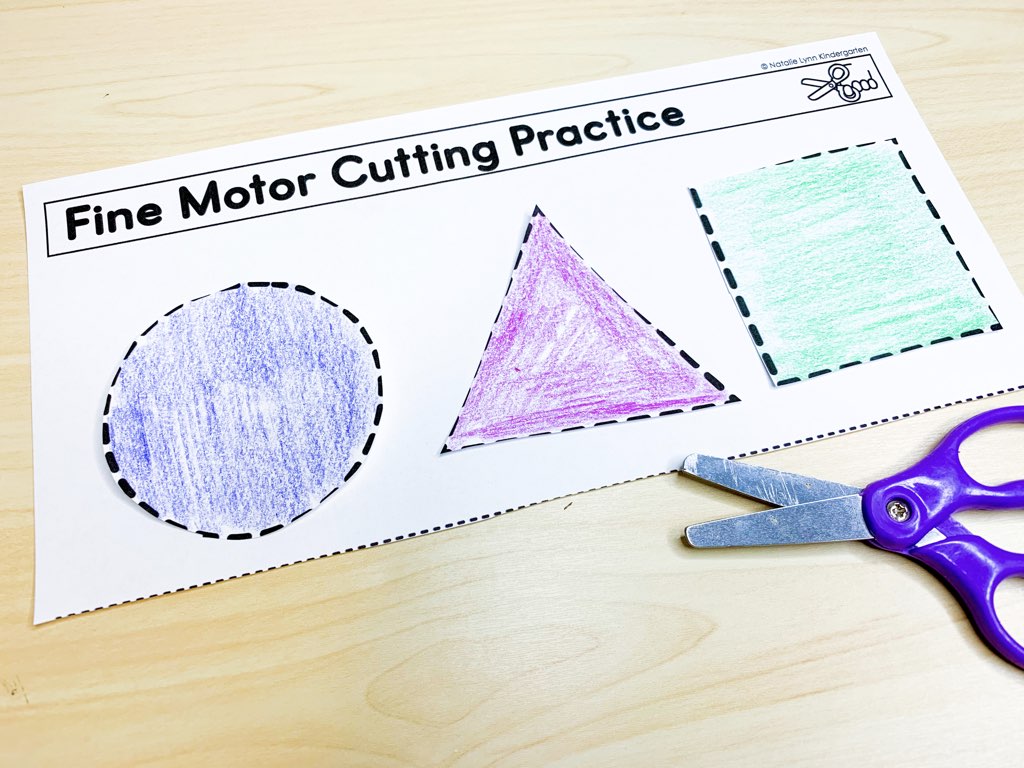
Once your students have mastered cutting on a line, they can learn how to cut shapes. Follow this sequence for learning how to cut shapes:
- Cut a circle
- Cut a square
- Cut a triangle
- Cut complex shapes
Fixing Common Scissor Cutting Mistakes
When you teach students how to cut with scissors, there are common scissor cutting mistakes you will most likely see. Thankfully, they have easy fixes!
My students can’t remember which hole to put their thumb in! Wrap a piece of colored tape around the thumb hole as a visual reminder for students.
My students keep their elbow out when cutting! I tell my students, “No chicken wings!” If you have a student who struggles to keep their elbow in, you can place a folder or book under their arm and have them hold it there while cutting.
My students keep flipping their hand upside down while cutting! If you have a student who is flipping their hand upside down while cutting, you can draw a smile on their thumb. Tell them, the thumb is driving the scissors so it needs to stay on top so it can see!
We also say they scissors cutting poem, “Thumbs up! Open, shut. Open, shut. That’s the way we cut, cut, cut!”
My students have trouble staying on the line! If your student has trouble cutting on the line, you can make the line thicker to start using a thick marker. You can also place stickers along the path and instruct students to cut the stickers in half.
Teaching Left-Handed Students How to Cut Using Scissors
When you teach left-handed students how to cut using scissors, it is best to use left-handed scissors. These are specifically designed to work best when used with the left hand. Of course, left-handed students can learn to use right-handed scissors, but they won’t work the best and it can be frustrating.
Most cutting activities will be the same for right and left handed students, just the scissor position and helper hand will change. However, there are two exceptions.
When cutting shapes, left-handed students should cut in the opposite direction as right-handed students. Right handed students will cut towards the right side of the paper going counter-clockwise. Left handed students should cut towards the left side of the paper. Otherwise, they can easily go off the paper.
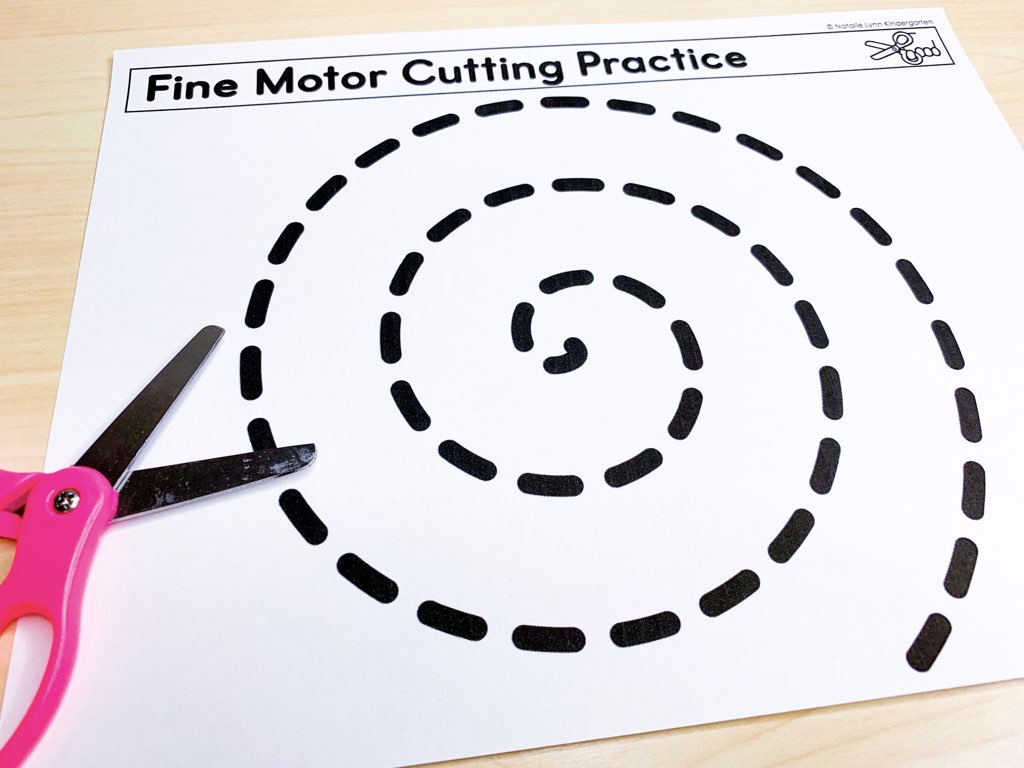
The same is true when cutting spirals. Right-handed students should cut spirals going counter-clockwise. Left-handed students should cut spirals going clockwise. Otherwise, the helper hands will have to cross over the cutting hand.
Scissor Practice Activities for the Year
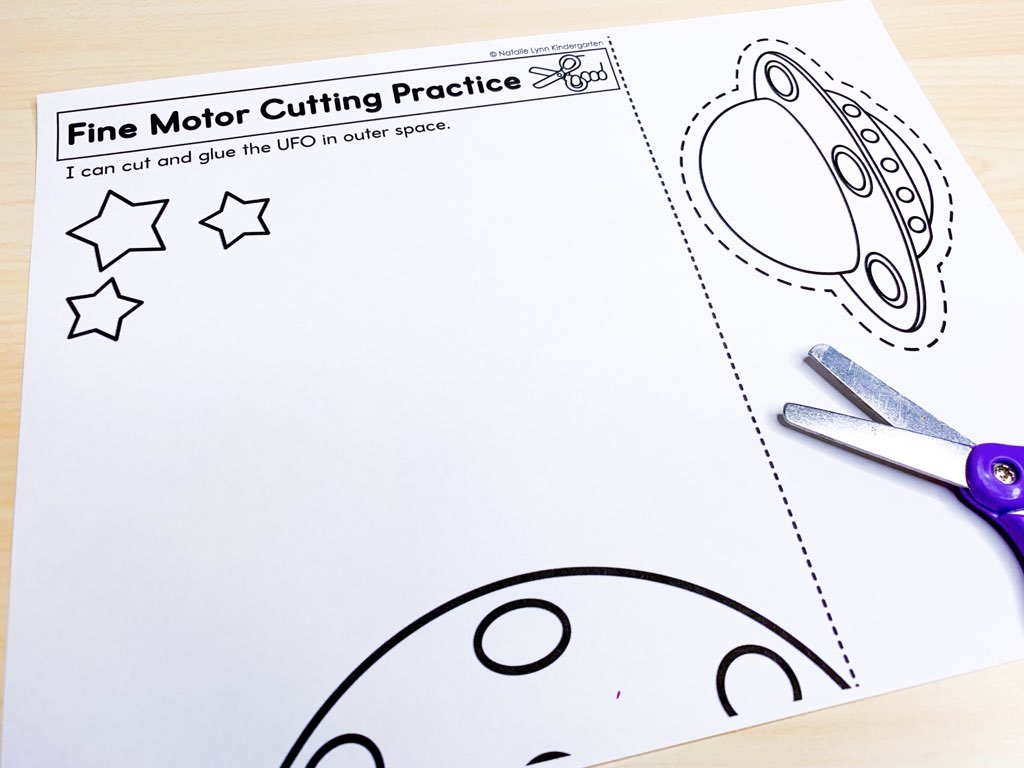
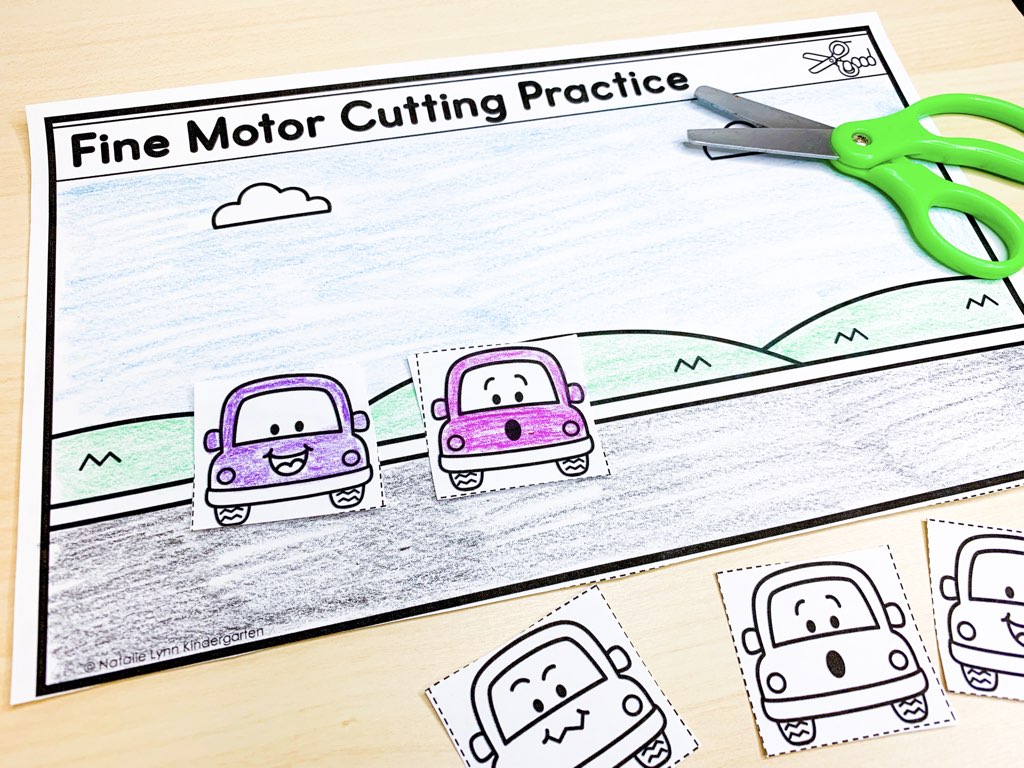
I developed my new scissor practice activities pack to help you provide your students and families with meaningful scissor cutting practice for the entire year.
You can use these scissor cutting practice activities alone or in fine motor journals.
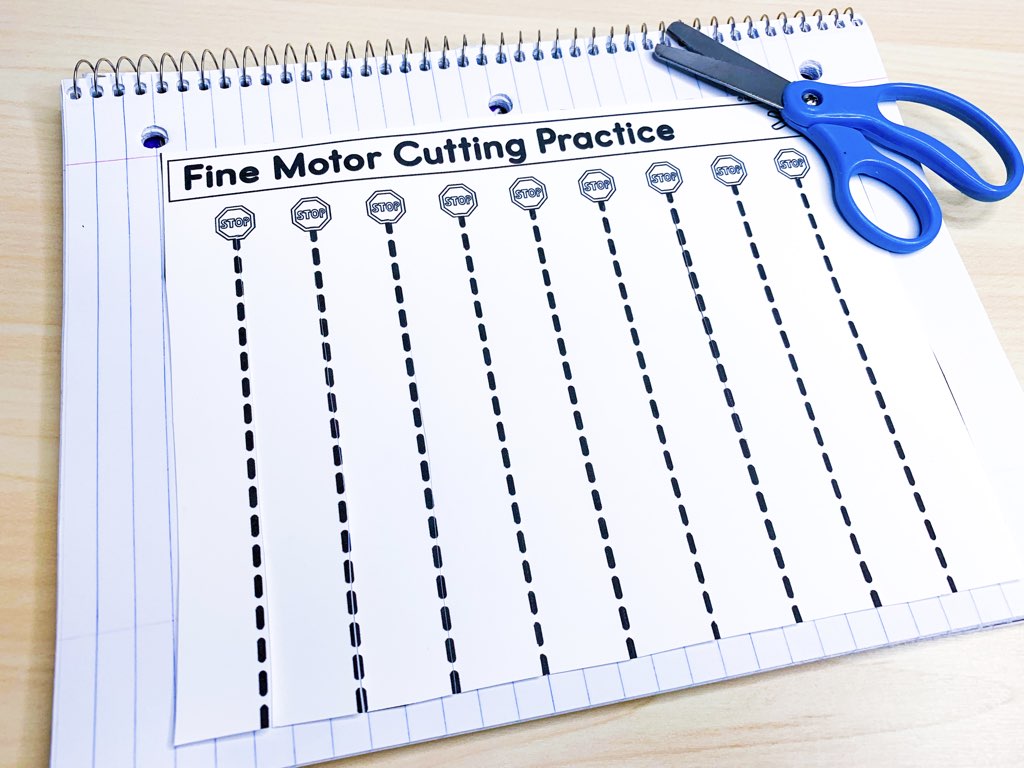
This pack includes:
- Fine Motor Journal Cover and printing directions
- Left-handed Tips
- Parent Letter with tips for practicing scissor skills at home
- Proper scissor grasp posters (4 versions are included)
- Scissors cutting poem poster
- Activities to practice:
- Cutting straight lines
- Cutting curved lines
- Cutting big shapes
- Cutting little shapes
- Snipping and cutting strips of paper
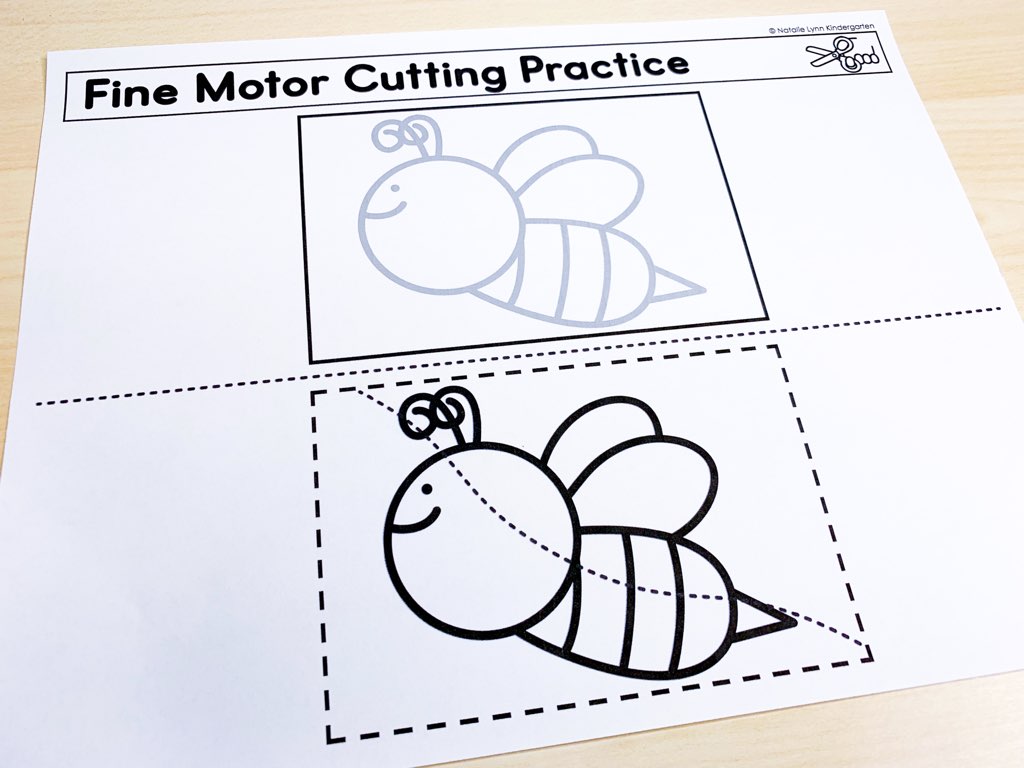
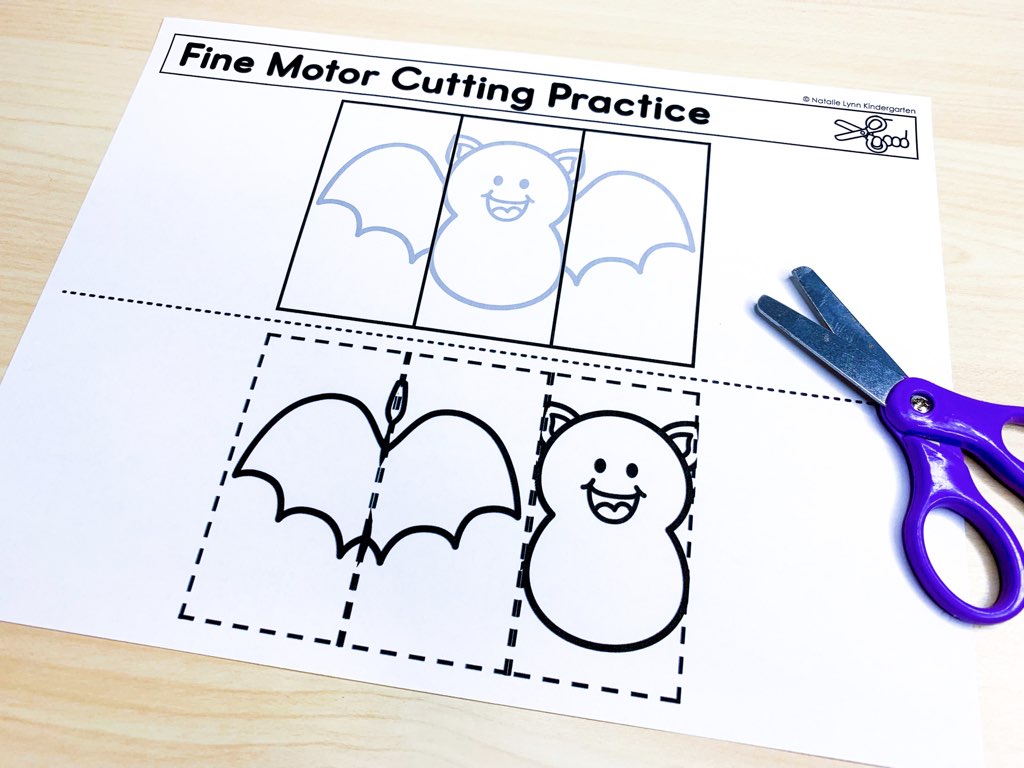
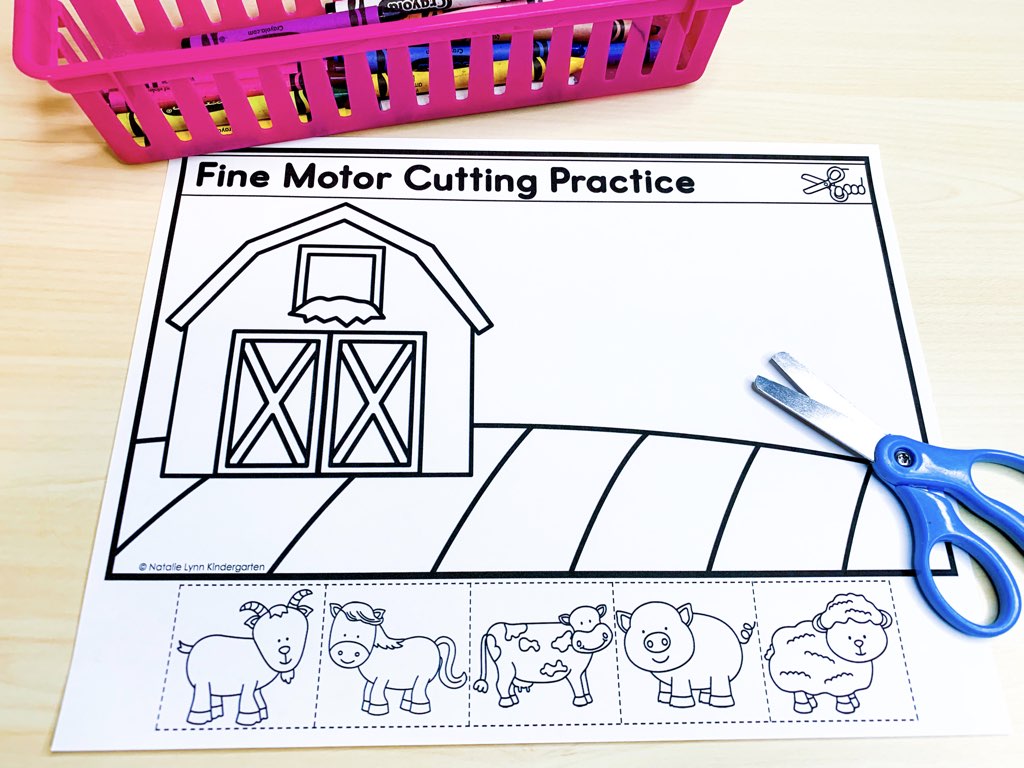
- Cutting pictures with straight lines
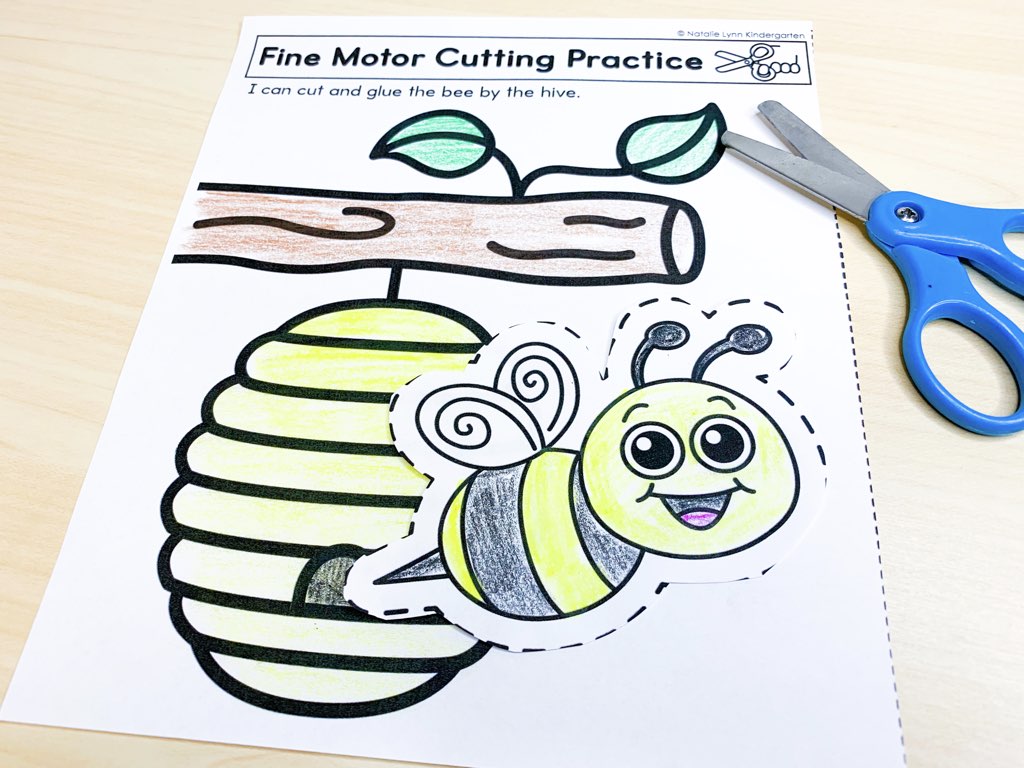
- Cutting pictures with curved lines
- Seasonal cutting puzzles
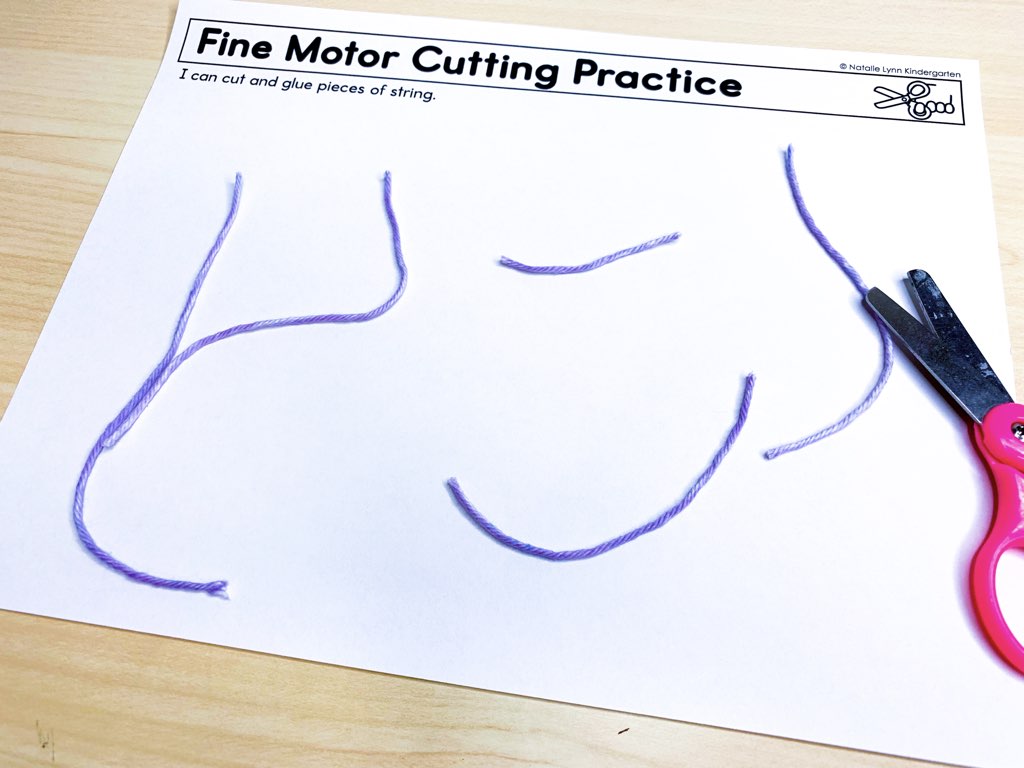
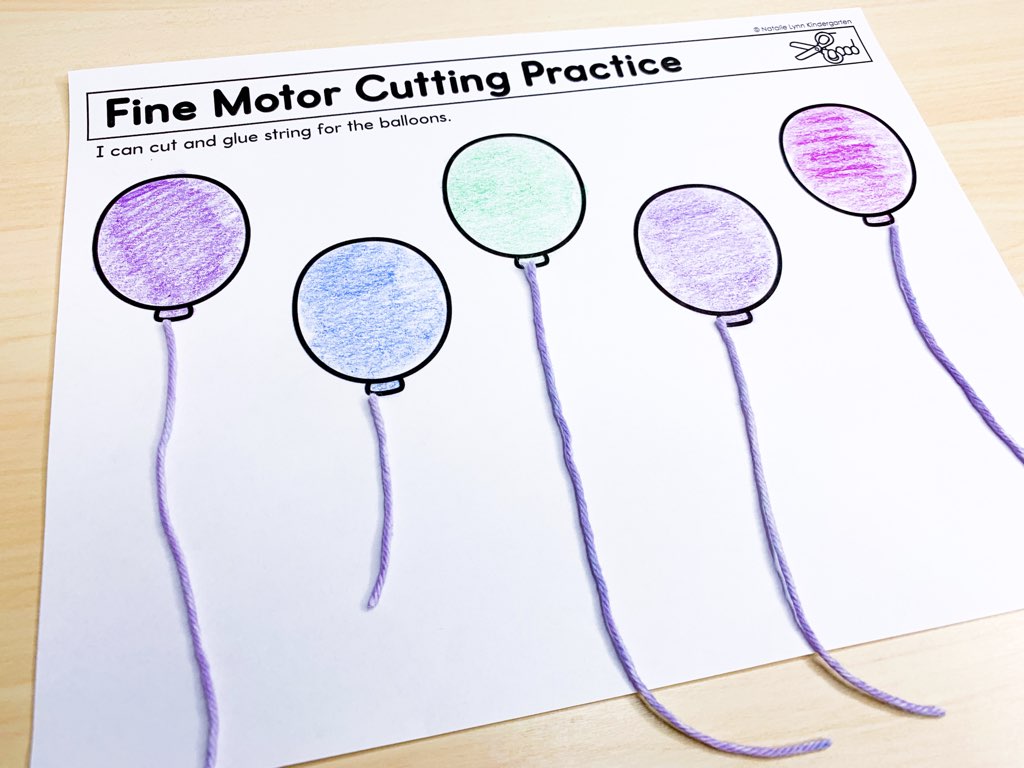
- Cutting string
This pack is also included in my new Fine Motor Activities for the Year bundle! This bundle will have everything you need to teach essential fine motor skills throughout the year.
The Fine Motor Activities for the Year will include these activities:
- Scissor Cutting Skills
- Tracing Lines, Shapes, Pictures, and Handwriting Strokes
- How to Use Glue and Glue Practice Activities
- Tearing and Gluing
- Dab It with Dot Markers
- Dot It with Cotton Swabs
- Hole Punch and Lacing
- Stamping and Finger Print Activities
- Pin Poking Activities
You can use these fine motor activities to teach fine motor lessons throughout the year, as intervention, morning work, centers, or to send home to parents as extra support.
Grab the Fine Motor Activities for the Year HERE at a super low BUY IN PRICING!

